A Practical Guide to Lautering
 Considering how important it is to the brewing process, lautering doesn’t get much respect. Many brewers see it as simply the process of rinsing grains. They give it little thought, rush through it, and curse it when it causes problems such as a stuck lauter.
But a successful lauter plays an important role in getting the most from your grains, avoiding astringent flavors, and making your brewing more consistent.
Lautering, by definition, is simply the separation of mash solids from mash liquids. The act of lautering gives the brewer the wort needed for making beer.
Lautering begins after the mash. Mashing means that grains are immersed into water warm enough (149° to 158° F) to convert starch into small sugars, among other processes that take place. Most of these particles that are broken down into smaller parts become soluble (they become a liquid solution). These small parts are required by the yeast to convert wort to beer. However, the yeast doesn’t really need all the solid stuff, and not even the most hearty homebrewers want that much body to their beer. Plus if you boiled the gruel at this point, you would end up with excessive tannins in your beer. Therefore, lautering was invented.

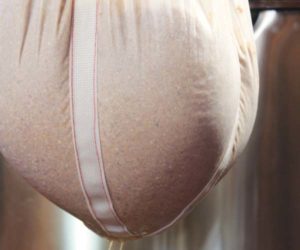
The basic principles of lautering involve putting the mashed grain into a vessel with a sieved bottom. Using the most standard setup, you will mash and lauter in the same (sieved-bottom) vessel. The sieve can be anything from a leg out of a pair of nylons (usually large and preferably never before worn) to a V-plate stainless steel false bottom installed in one of those large, round water coolers. The sieved vessel then allows the liquids of the mash to flow out of the mash tun into another vessel.
However, there is a small problem here. This initial juice that escapes from the lauter vessel has a very high initial gravity, which is not always preferred by the brewer, and a brewer who just drained the lauter without adding more water would lose a bunch of sugar that the yeast could otherwise eat. So unless you want really small batches of high-alcohol beer, you have to add more water back into the lauter.
The Process
The details of the lautering process depend to some extent on the equipment you use and the type of beer you are brewing. For this example we’ll look at a beer of medium starting gravity, lautered in the most standard of homebrew lauters, the five-gallon bucket with umpteen zillion holes drilled into the bottom of it, stuffed into another five-gallon bucket with a spigot near the bottom.
At the point when you are just completing your mash and are ready to lauter, the mash water will serve as foundation water. Foundation water allows the mash to float rather than become wedged into the sieve. If you were lautering in a separate vessel, you would fill the bottom with 175° F water and add the mash.
Hot water is preferred to cold water for lautering. Hot water extracts more sugar than cold water. There are many chemical/physical principles at work here, but they can all be boiled down into a maple-syrup example. If you have ever tried to pour maple syrup straight from the refrigerator onto your waffles, you know the syrup does not pour very fast. But if it is heated, it pours much more quickly.
The same is true for the sugars in the mash. If you add cold water to them, they will move very slowly through the lauter. But if you add hot water, the sugar molecules move around much faster and are therefore extracted much faster. Another reason for using hot water is that you will be able to bring the wort to a boil faster once lautering is completed.
Once the mash is complete, let it settle for about five minutes. This allows the grain bed to sort of settle out. At the end of the five minutes, open the spigot and start running off slowly. The lautering process should take about an hour; it’s not a race. A common mistake made in lautering is to zip the water through the lauter and into the boil as fast as possible.
At the start of the lautering process, you should use a quart container to catch the first runnings. These will be cloudy and have bits of husk in them. Pour the cloudy, husky material back into the top of the lauter. This process is called vorlauf, a German word that means temporary. The mash materials will act like a filter and clear the runnings.
Repeat this process until you are satisfied with the clarity of your wort. Some worts never become totally clear, while others can become almost crystal clear. It depends on your lauter tun design and the type of malt and adjuncts you are using. However, as a general rule you should at least vorlauf long enough to get the husky material out of the runoff. Fifteen minutes is a reasonable time for the vorlauf.
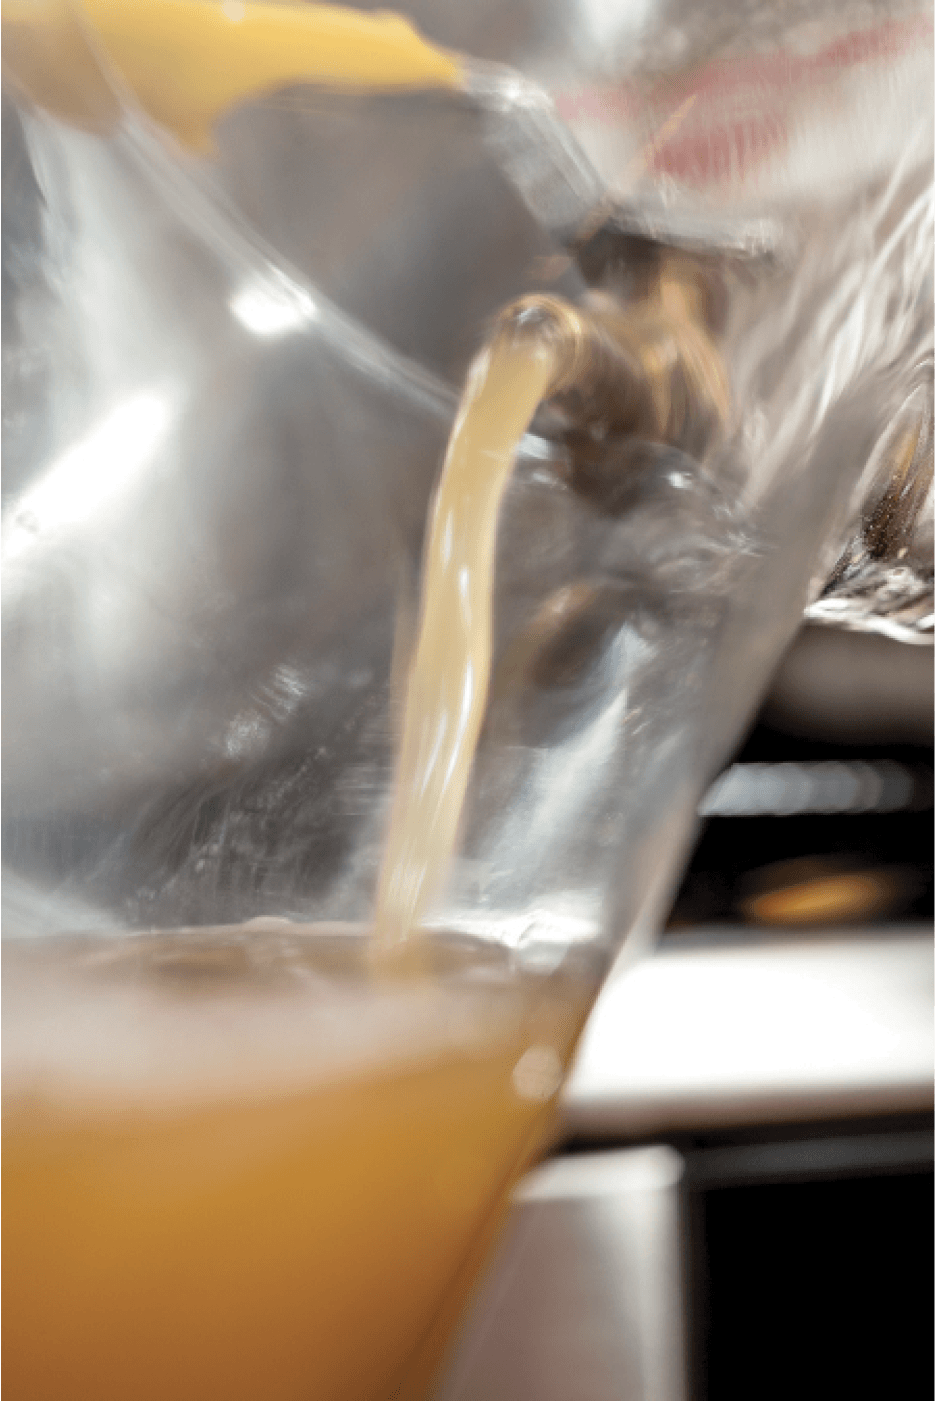
Once you have reached the desired clarity, you can start running off into the brew kettle. Again, this is not a race. You should take at least 45 minutes to run the rest of the water through the lauter vessel. You will notice that the water level in the lauter tun will begin to get low as you drain off the bottom liquid.
At this point you should be adding hot water back into the top of the lauter. One of the simplest methods is to put boiling or near-boiling water into your quart vorlauf jug and add the water as needed to the lauter vessel. It is a good idea to keep the water level in the lauter about an inch above the grain bed.
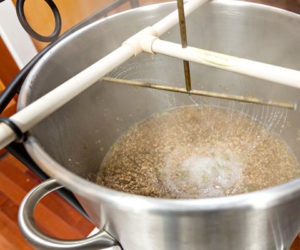
This is one simple method for adding water to the lauter tun. There are many tools available to help the brewer add water evenly over the top of the lauter bed. Some are as complicated as another bucket attached to a tube that runs into a second, T-shaped tube. When water is added to the bucket, the T-tube spins around like a lawn sprinkler. For the most part these devices work well.
You can also use an ordinary gardening water can, plastic not galvanized. If you use this method, the water will cool down significantly between the time it’s on the stove and it gets to the lauter, so overshoot your target temperature a bit.
The important thing is to evenly distribute the water over the top of the lauter. This allows the water to flow evenly through the grain bed. The whole purpose of adding the extra water is to extract more sugar. Therefore, it makes sense to evenly distribute the water. If the water does not get to a certain spot in the lauter bed, you will get what are called sweet spots. Sweet spots represent lost extract.
One way to prevent sweet spots is to stir up the top of the grain bed with a fork. You can go as far as halfway down the bed and not disturb it too much. But it’s important to move gently. Some people might be afraid that this will disturb the bed too much. If you feel that way, this is by no means a necessary procedure. It just helps you get the most out of your extraction. Also, only do this early, during the vorlauf. Doing it later may cause setting of the disturbed layers, leaving you with a stuck lauter.
Finishing Up
So when do you stop lautering? You have been adding water for quite some time now. How can you tell when it is time to stop? There are two schools of thought on when to stop: when you reach a certain volume or when you reach a certain gravity. Of course if all goes well, you’d like to hit both at the same time. However, this takes a lot of practice.
If you decide to aim for volume, the question becomes: Which volume is correct? This depends on how much energy you can stuff into your boiling kettle. If you are using a five-gallon fermenter, you need 5.5 to eight gallons of starting wort. Generally if you are boiling on a stove top, you won’t need much more than 5.5 gallons. That’s because the boil on most stoves is fairly weak. However, if you’re cooking on a propane burner, especially one of those 150,000-BTU flame throwers, and you have a large enough kettle to contain the boil, you can easily extract eight gallons of wort and boil it down to five in an hour. You will also get good hop extraction this way.
If you decide to aim for a specific gravity, you won’t know in advance, especially when you first try this, how much volume you’ll end up with. With time, as you get more used to yoursystem, you may become successful at predicting the volume.
However, aiming for specific gravity will make your results more consistent with the recipe, if you’re using one. It will also make it easier to repeat your results the next time you brew the same beer.
The specific gravity method entails taking periodic gravity readings in the boiling kettle. The general method for this is to take a sample of wort, put it in the measuring device, and immerse the measuring device in ice or ice water until the temperature is correct. Then, take a gravity reading and throw the wort back into the boiling kettle. Continue to take gravity readings until you have reached the desired gravity. Keep in mind that the gravity after boiling will be higher than the gravity at the start of the boil. This is due to evaporation of water during the boil.
As the measuring device, it’s helpful to use a copper tube with one closed end. Copper has a tremendous heat-exchange capacity, which allows the wort inside it to cool much more rapidly than wort cools in plastic. Also, stirring helps greatly. Convective heat exchange, heat passed by a current or flow, is much faster than conductive heat exchange, the passive process of giving off heat without the aid of a current.
There is also a third method that is used to decide when to quit lautering. It involves neither volume nor gravity of the extracted wort. This one is practiced by those fearful of tannin being in their beer. This method involves either tasting or taking a gravity reading of the wort as it exits the lauter tun. It is generally accepted that when the readings get down to a specific gravity of 1.008, there are more tannins and other unwanted material flowing from the lauter vessel.
If you are tasting the wort, at the point when you can no longer perceive a sweet flavor the gravity ranges from 1.012 to 1.006, depending on your ability to perceive sweetness. If you fear tannin, stop the lauter at this point.
If you still need more water to reach the volume you desire, then you can make up that amount of water by using hot tap water, or take the excess sparge water and pour it directly into the brew kettle. The important point is that you are not losing too much fermentable sugar at this point. It is completely acceptable to use this practice. Many professional brewers use this method.
Nothing But Time
What if the lauter is taking too long? First, it’s important to emphasize that a lauter that goes too fast is a more common problem than one that goes too slow. If you lauter for 15 minutes, you’re going to leave a lot of sugar behind, and your extraction efficiency will be closer to 50 percent than 60 or 70 percent.
The two most likely reasons for a slow lauter are:
1. The grain was milled too small.
2. The protein layer that forms on top of the grain bed has set thick and is restricting the flow of wort through the grain bed, thus leaving Lake Lauter in its flood stage.
Both of these problems are easily rectified. If your milling size is too small, simply make it larger. Many people try a small milling size because they are dissatisfied with their yield and want to get more extract out of their grain. But a larger mill setting (the actual setting varies based on the type of mill and grain) combined with a slow lauter will result in substantial extraction.
The second problem of the protein layer on top of the lauter is easily remedied by taking a fork and periodically stirring the top of the grain bed. A side note on this problem: Wheat is notorious for gumming up lauters, so expect some delays in lautering a wheat mash. Also, grind the grain a bit larger than normal for wheat beers.
There is yet one more way that you can slow your lauter down, and that is by sticking your lauter bed. This basically means that the wort is removed too fast from the bottom of the lauter, causing the top of the lauter bed to push down on the sieve. This stops all flow through the lauter.
The most common way that this happens is that people take a long tube from their lauter spigot and put it into their brew kettle on the floor. Then they open the lauter spigot. The wort in the tube creates a great suction and,whammo, a stuck bed is formed.
To get rid of a stuck bed, underlet the lauter by pushing water back up through the spigot. This helps clear the sieve holes. After underletting you should wait about five minutes, then resume lautering.
Here’s one last suggestion to make the lautering process easier. As soon as you are done using your lauter tun, clean it. Procrastination about cleaning the lauter tun will almost inevitably cost you more time next time you brew. Also, there tends to be a fascinating array of molds that are willing to spring up in as little time as a day or two if the lauter tun is left even partially dirty.
Finally, if you still have trouble going slowly through the lautering process, try drinking some of your previous work during this time and making it a social event. Most all social events are known to cause time to elongate.