Get the Full Effect from Your Hops

close attention to the hops. You’ll get three quite separate hop
effects, and if it’s a well-made beer, each will be pleasing.
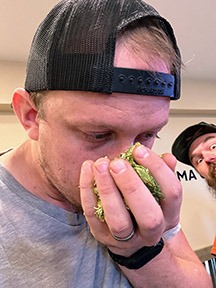
First there will be the aroma, appetizing and inviting. Next, a
beguiling series of flavors, sometimes floral, sometimes spicy, perhaps
herbal, or any of a number of other tastes. Finally there will be the
bitterness, supporting and balancing the sweetness of the malt.
Each of these effects is yours to control.
Bitterness
Most hop bitterness is a product of a group of compounds called
alpha acids, which won’t normally dissolve in beer. Unless they’re
rearranged at a molecular level (isomerized) into iso-alpha acids,
they’ll seperate out when the wort cools.
Isomerization is a relatively slow process that occurs naturally
when you boil the wort. Even though all of the alpha acids from the
hops may have been added at the beginning, the bitterness will continue
to increase as the wort is boiled. Most of the isomerization occurs
during the first hour.
Not all of the alpha acids will isomerize during the boil, and some
of those that do will be lost in later stages of the process. That’s
why there’s not a precisely predictable relationship between alpha
acids added to the boil and iso-alpha acids (creating bitterness) in
the finished beer.
Many different hop varieties (called cultivars) are available to
brewers, and each of them has a different set of characteristics. One
of the most commonly measured parameters is the percentage of the hop
cone (by weight) that is composed of alpha acids. For some years now
hop cultivars have been roughly divided into “bittering hops,” which
have a relatively high alpha acid content, and “aroma hops” with a much
lower one.
Not long ago the prevailing theory was that after an hour’s boil,
all hop flavor components except bitterness would have boiled away, so
bittering was best done with the highest-alpha hop you could get. Thus,
you’d use less hops than with a lower-alpha variety and so reduce your
overall cost.
Many homebrewers have found, however, that it doesn’t work quite
that way in practice, and the flavor impact of the bittering hop can be
dramatic. While bittering with low-alpha hops can be expensive in
commercial quantities, at homebrew levels it’s a cheap investment in
quality to use the best-tasting hops you can get, even if you have to
use a lot of it to get the bittering level you want.
This doesn’t necessarily mean that high-alpha hops will produce bad
beer. But they can be very tricky to use, as it takes very little to
turn a hoppy beer into a harsh beer. Some high-alpha hops also have
unique flavors that may not fit your brew, such as the strong
grapefruit-like taste of Chinook.
Aroma
Bitterness is just a single dimension of what hops do for beer. A
wide range of flavors and aromas are available through careful hop
selection, and getting the best in aroma from hops requires an all
together different approach than getting the best bittering.
The best of the hop aromas come from very volatile oils in the hops.
These aromas are easily evaporated and lost in the boil. Preserving
them in the beer demands a hop addition very late in the boil, or even
after the boil. There are three common methods of maximizing hop aroma.
Finishing Hops
Finish hopping is the only one of these methods that involves
adding more hops to the kettle. Typically, this is done within the last
15 minutes of the boil. Some brewers pitch finish hops immediately
after the boil, while the wort is chilling. This works well if you’re
chilling the wort in the kettle rather than using a counterflow chiller.
The Hop-Back
The hop-back (also called “hop jack”) is a vessel much like a mash
tun used to separate wort from the hops and hot trub, the solids left
over after mashing and boiling. Brewers discovered long ago that they
could improve filtration and add hop aroma by spreading a fresh charge
of hops over the slotted bottom of the hop-back vessel before running
in the wort and spent hops from the kettle.
All-grain brewers can use their mash tun as a hop-back of sorts, but
this is pretty risky business. Remember, the wort is never more
vulnerable than it is from the end of the boil until fermentation is
fully established. If you chill in the kettle, the sanitation of your
tun needs to be perfect. If you plan to transfer the wort while it’s
hot, remember that even a little agitation at this stage can plant the
seeds of serious oxidation problems later.
Dry Hopping
Perhaps the most popular post-boil method of adding hops is dry
hopping. This is nothing more than adding hops to the beer after
primary fermentation is complete. At this stage in the life of the
beer, the pH has dropped and the alcohol content has risen, making
infection much less likely than it was just a few days earlier.
Though your senses might recoil at the thought, you can just toss
the hops right in and leave them to soak. Some favor enclosing them in
a mesh bag weighted with some easily sanitized object (it must be
something that won’t oxidize—marbles for example), but it’s okay to
just drop the hops on top of the beer. They’ll sink when they’re ready.
Many brewers who dry hop regularly prefer whole hops to pellets.
Whole hops seem to give better flavor, and it’s easier to rack the beer
from the secondary when using whole hops.
Cones, Pellets, and Plugs
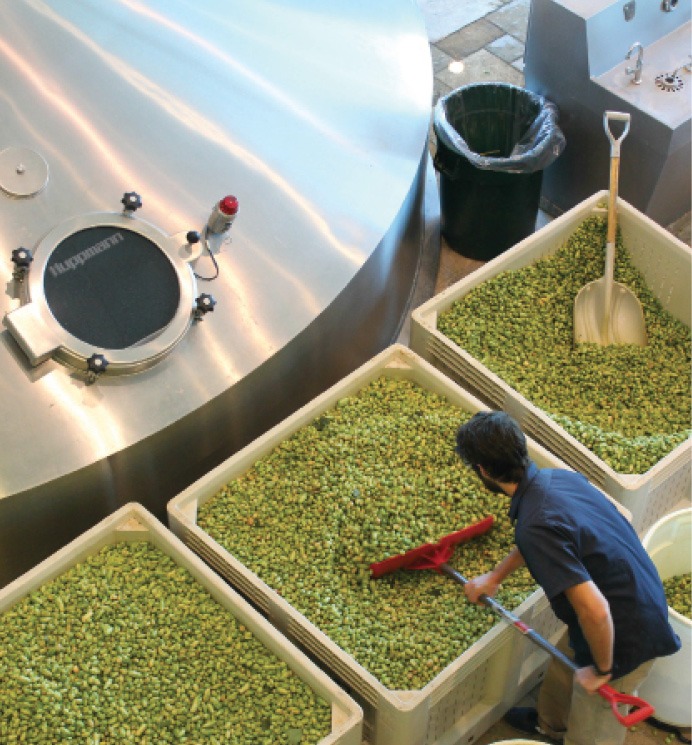
Hops are generally available to homebrewers in three forms. Whole
hops consist of the hop cones, dried and pressed. They’re shipped and
stored in bale form, then the bale is broken down into smaller
quantities.
The other two forms are both pelletized, known technically as Type
90 and Type 100 pellets but informally called pellets and plugs,
respectively. The Type 90 pellets are made by breaking up a bale of
hops, pulverizing the hops in a hammer mill, then forcing the resulting
gummy powder through an extrusion die. The result looks like pelletized
livestock feed and often has a hard and shiny exterior from dried hop
resins.
This resin is from the plant’s ruptured lupulin sacs. It forms both
the binder that holds the pellets together and the seal that protects
the pellet’s interior from oxidation, which is why pellets tend to
store better than whole hops. They are also easier to measure
accurately and occupy less storage space. These three reasons may well
be why more pelletized varieties than whole are available at retail
outlets.
Many brewers feel that fresh whole hops give the best flavor but
concede that the difference is not great. Some have reported grassy
flavors from pellet hops. No such drawbacks are reported for plug hops,
but their processing has been less drastic. They are whole hops
compressed, without grinding, into a half-ounce pill.
Removing Hops
Different forms of hops require different strategies for removing
the residue after the boil. Compatibility with your equipment may be
the most persuasive argument for using one form over the others.
Other than using a hop-back, there are several ways hops can be
removed. Enclosing them in a mesh bag is a good strategy for whole
hops. The advantage is that unless the bag breaks, it’s relatively easy
to separate wort from hops. The disadvantage is that enclosing the hops
in the bag reduces the mechanical action of the boil on them, reducing
both extraction and isomerization. You’ll need to experiment to
determine how much larger a hop charge you’ll need to compensate.
Remember, also, that hops tend to swell quite a bit after they’ve
been added to the boil; leave plenty of room in the bag! Pellets break
into a powdery “spooge,” so a bag will need to be of a very fine mesh
to be of any help.
If you rack your beer from the kettle, one popular method is to wrap
the tip of the racking cane with a kitchen scrub pad. The most commonly
used types are of either stainless steel or pure copper. Don’t use
“steel wool” and whatever you do, don’t use a pad that’s impregnated
with soap!
It’s okay to use a plastic scrub pad if you chill in the kettle and
so don’t need the heat resistance of metal pads. The scrub pad needs to
be thoroughly sanitized before use. This method seems to work best with
whole hops, but the amount of pellet residue that slips through can be
minimized by gently stirring up a whirlpool in the kettle, which will
gradually clump the residue in a cone in the center, and then racking
from the edge.
One brewer fashioned a racking cane from copper. The cane has a loop
at its base that just fits inside his kettle. He drilled many tiny
holes along the bottom of the loop and places it in the kettle to
sanitize shortly before the end of the boil. This works well even with
pellets, but it’s important to whirlpool and let the residue settle
before racking.
Finally, brewers who have drain valves in their kettles use
removable mesh screens of copper or stainless steel mounted a few
inches above the bottom. They simply open the valve.
If you want to learn more about hops, there are several excellent
books on the subject. But the best way to learn about hops is to
experiment. You won’t regret it!
Utilization Table
Boil Time Utilization
————————————-
< 5 minutes 0.05
6 – 10 minutes 0.06
11 – 15 minutes 0.08
16 – 20 minutes 0.101
21 – 25 minutes 0.121
26 – 30 minutes 0.153
31 – 35 minutes 0.188
36 – 40 minutes 0.228
41 – 45 minutes 0.269
46 – 50 minutes 0.281
51 – 60 minutes 0.3


