Lagering for Beginners
Brewing lagers can be very intimidating for new homebrewers — which is one of the reasons most begin with brewing ales. But, if your favorite beer styles to drink are Pilsners, märzens, bocks, etc…, then you can’t run from lagering! Once you understand the differences between brewing lager and ale, the extra steps really aren’t too difficult. It will, however, take a little more patience and equipment.
Before we get to lagering, let’s make sure we are all on the same track in defining what a lager is. The biggest difference between lager and ale is the yeast — lagers use bottom-fermented yeast while ales are top fermented. The conditions these yeast thrive in is also different, as most lager yeasts perform best at 50–55 °F (10-13 °C), while ale yeasts generally perform best from 60–70 °F (16–21 °C).
The actual brewing process is similar for ales and lagers (it can be different, but often times that is because of the difference in the German and English brewing traditions that continue to influence how ales and lagers are brewed … but that is a topic for another day). The real difference comes after the wort is cooled. Read the yeast label you are using to find the ideal temperature for fermentation. At cooler temperatures, fermentation will not appear as active as it is when fermenting ales. This is expected, however, so do not give into temptations to turn the heat up if the bubbles in your airlock never appear very rapid. The cooler fermentation temperature is needed in ensure the yeast metabolism byproducts are kept to a minimum.
When active fermentation appears nearly done, it is time to do a diacetyl rest where you want to slowly bring the temperature up to around 60–65 °F (15–18 °C) and hold it there for a couple of days. This warmer temperature speeds up the conversion of alpha-acetolactate to diacetyl and makes the yeast more active so it is in a better state to convert diacetyl (which, in turn, reduces the unwelcome buttery taste found in flawed lagers).
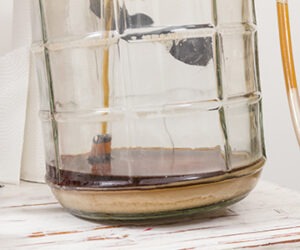
After the diacetyl rest it is time for the cold conditioning period (called lagering). Carefully rack the beer into a secondary fermenter (a keg if you have one, a fermentation bucket or carboy if you don’t) and gradually reduce the temperature 1–2 °F (1 °C) each day until stabilized at your lagering temperature, which should be somewhere down around 30–45 °F (-1–7 °C).
Over this lagering period the beer will clarify and the taste will mellow out and improve as the yeast and haze-forming proteins drop out of suspension. How long of a lagering period you’ll need is dependent on the temperature (the colder it is, the longer lagering period is required) as well as the beer style (higher alcohol beers take longer to lager). While a little time can be saved by lagering on the higher end of the scale, cooler temperatures result in a smoother tasting and clearer lager.
With temperatures in the 40s–50s °F (4–10 °C) required during fermenting a lager and colder than that for lagering, brewing lagers requires a way to control and maintain cool temperatures. Homebrewers usually resort to a chest freezer with a temperature controller, a lagering chamber large enough to house your fermenter, or a recirculating pump and thermometer setup.