Managing pH with Brewing Water Adjustments
In this article, we will walk through the key concepts of residual alkalinity and some adjustments you can make on brew day to fine tune your wort pH. All pH readings are provided as room temperature readings and will need to be adjusted as needed if you are taking readings at higher temperatures. Usually it is all-grain brewers who focus on this topic, but extract brewers should be learning about this as well. So let’s get into the topic of wort pH and making necessary adjustments to get your post-boil wort’s pH within the happy range of around 5.1–5.5.
RESIDUAL ALKALINITY AND pH
Alkalinity refers to the measure of your water’s ability to neutralize an acid. In brewing water, that role is performed by levels of carbonate, bicarbonate, and hydroxide ions. The term residual alkalinity (RA) refers to the level of those ions that remains after certain solubles in brewing malt are taken into account.
Back in the 1950s, Paul Kolbach, a German brewing scientist, found that phosphate ions released by malt react with water’s hardness, calcium, and magnesium ions in the mash. The result of the reaction is an insoluble compound that precipitates out. By getting a baseline of the residual alkalinity found in your brewing water, you can then take the next step toward adjusting your water’s alkalinity to find an acceptable pH of both the mash and the wort.
So what does residual alkalinity actually have to do with the pH of your wort? Well, during the reaction between the malt’s phosphate and the calcium or magnesium, two hydronium ions are produced per reaction:
3Ca2+ + 2HPO42- + 2H2O <-> 2H3O+ + Ca3(PO4)2
As anyone familiar with chemistry knows, hydronium ions (H3O)+ define what we measure when we measure pH. This therefore makes the reaction between malt’s phosphate and your water’s hardness an acidification step. The increase in hydronium ions will result in a drop in acidity towards your goal of an ideal mash pH range, usually 5.1–5.5. But any residual alkalinity found in the brewing water will resist that acidification, helping preclude a big change in pH. Bicarbonate will react with a hydronium ion to produce a water molecule and a molecule of carbon dioxide. If you are using reverse osmosis water, distilled water, or ultra soft water, say from the Pilsen region of Czech Republic, then you have a couple of things going on. First, your mash will basically have no hardness to interact with the malt’s phosphate, so you won’t get any acidification reaction. On the other hand, if you do add calcium and/or magnesium, there will subsequently be no alkalinity to buffer the increase in hydronium ions.
So making adjustments to RA starts off on a simple level. What we find is that by using soft water on a beer brewed with just pale malts, and a touch of a calcium-based salt like calcium chloride to provide the proper acidification reaction, the mash should land in a brewer’s pH sweet spot around 5.2–5.3. But things start to get a little more complicated once we start working with high alkalinity water, or water high in total hardness with lower alkalinity and/or adding highly-kilned crystal malts and roasted grains. Luckily for brewers today, fellow brewers have developed and refined brewing water calculators to perform many of these calculations for us. So that spares us the details of some fairly complicated mathematical formulas and instead we can focus on the broader topic of water chemistry and how we want to utilize this knowledge.
One final point before we move on: If you are worried that all your calcium and magnesium are going to be depleted during the precipitation reaction with phosphate, fear not. Kolbach also found out that only about 25% of the calcium present will actually react with the phosphate and only 15% of the magnesium will react. This will leave sufficient levels of both ions for mashing and fermentation purposes.
RESIDUAL ALKALINITY FOR EXTRACT BREWERS
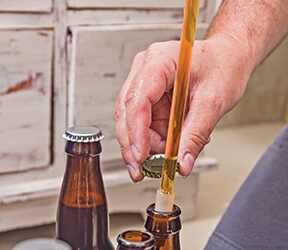
I have found advice across the Internet that extract brewers shouldn’t worry about adjusting their water — that the malt extract producers have taken care of this work for you. Please don’t listen to this advice. Residual alkalinity affects not only all-grain brewers, but also extract brewers. If you started your homebrewing career using extract kits or recipes you found in BYO or elsewhere, but kept finding that your pale ale kept coming in looking more like an amber or even a brown ale, it was likely the water’s fault. The advice that extract brewers shouldn’t focus on their water is something that I find has created a generation of homebrewers who consider beer brewed using malt extracts as an inferior product. If your brewing water does contain even a modest level of alkalinity, it will adjust your wort pH. The wort’s pH has consequences on the color, body, flavor, and mouthfeel of your beer. Either knocking out all your alkalinity or using distilled or RO water is ideal. Homebrewers using extract should really focus in on their pre-boil pH. You’ll want this to be in the 5.3-5.5 range, if not a touch lower. If your boil’s pH is too high, Maillard reactions in the brewpot will darken your beer and throw off the flavor profile of your final beer. During fermentation, the yeast will actually help correct the pH of wort that is very high, but sometimes the damage to the wort can already be done. Beer with a high pH is often described as flabby, lacking a crisp bite that most beer fans appreciate. Also, pH influences alpha acid isomerization and the results can be more bitter. Many brewers believe that a cleaner bitterness results from a pre-boil pH that is around 5.2
or lower.
KNOCKING OUT YOUR ALKALINITY
Let’s first get into knocking down your residual alkalinity since this is the most common alkalinity adjustment brewers will want to make. If you are starting with high RA values and want to bring those down, you have a couple options: Reverse osmosis, dilution, boiling and/or adding a flavor neutral acid (including acidulated malts). Water that has been run through a water softening system should not be utilized for brewing purposes. This may be great for taking a shower, but water softeners simply replace the calcium and magnesium found in your water with sodium in a 1:2 ratio. First, this does not remove the carbonates, and second, it leaves you with brewing water devoid of the important calcium ions and replaced with the salty flavors provided by sodium. In other words, if you start with 60 ppm calcium, 12 ppm magnesium and 10 ppm sodium, after going through the softener, your calcium and magnesium will be near zero and sodium maybe up above 150 ppm. This may be workable if brewing a Gose, but even in that extreme case, knocking out all the calcium in your brewing water is not recommended.
Reverse osmosis and dilution methods:
Reverse osmosis is the most costly of the options, especially in upfront costs, but will provide you with a clean canvas to build your water profile. Starting with the near zero dissolved ions provides a myriad of options to build a unique water profile. Dilution of your tap water with distilled or reverse osmosis water is a great option if you don’t need to knock the alkalinity down too far. If you’re starting alkalinity is 110 ppm (as CaCO3), but you are looking for about 50 ppm, then diluting your tap with with distilled water in a 1:1 ratio may be a good solution.
De-alkanization via boiling method:
Boiling is a good option to knock out a fair amount of alkalinity, but will leave some bicarbonate in solution, leaving your brewing water at 60–90 ppm total alkalinity (as CaCO3). The general practice is to bring your brewing water up to boil the night before you begin brewing, add a sprinkle of chalk to help precipitate the bicarbonates in solution, and the bicarbonates and calcium in solution will precipitate out as chalk. Anyone with hard water should be familiar with the chalky film deposits that build up in a teakettle, confirmation that this method works. Why it works is fairly simple, and I first learned about this from water guru Martin Brungard. Heating the water actually drives off the low levels of dissolved gaseous CO2 from the water. Dissolved CO2 in water is found at an equilibrium with the ionic carbonic acid and bicarbonates that are in solution. It is that equilibrium that helps hold higher levels of alkalinity in suspension. Remove the dissolved CO2 and the calcium and magnesium can react with the bicarbonate in a precipitation reaction. A vigorous stir of the boiling water can also help drive off the CO2 and push the equilibrium towards more precipitate and lower alkalinity. Let the water cool and then decant it off the precipitated chalk to help keep the alkalinity out of solution. Once the water cools and starts to reabsorb gaseous CO2, the chalk will start to dissolve back into solution.
Adding acid:
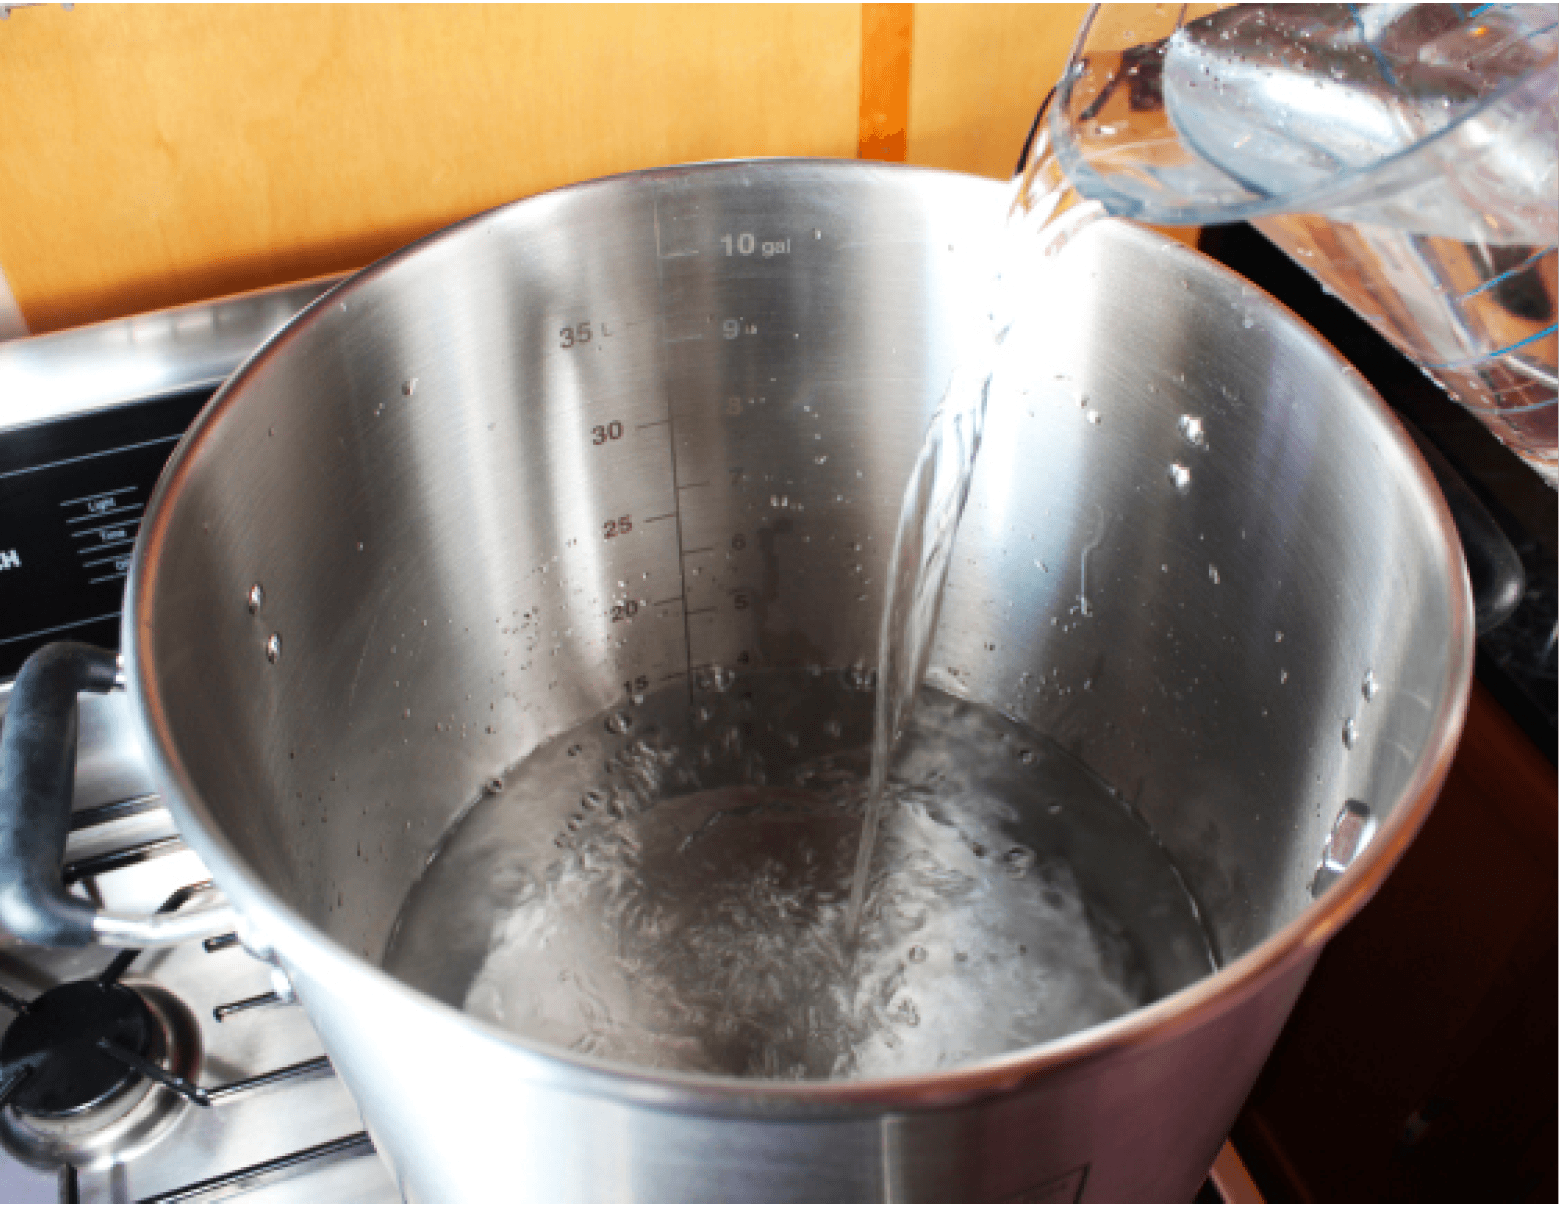
At my house, I deal with water that is fairly high in alkalinity, but luckily for me it is also very low in permanent hardness. For a while I used the boiling treatment method, but I found that it was using up my propane and also was time consuming. While I often dream about owning a RO system, I’ve found that carefully calculated and measured additions of acids can get me to a similar goal without the need for pre-boiling 10+ gallons (38+ L) of water.
The first decision you need to make is what type of acid to add; later you can figure out quantities. For this article, we’ll go over four types of acids that brewers can utilize to knock out alkalinity: Phosphoric acid, lactic acid, sulphuric acid, and hydrochloric acid (I will include acidulated malt in with the lactic acid section). There are a few others such as citric acid, malic acid, and acetic acid that could be used for flavoring reasons, but these types of acids would not be recommended at the levels required for knocking higher levels of alkalinity down. Flavoring acids like these will be discussed in a future article.
85% Phosphoric acid (H3PO4) is a great choice for homebrewers looking to knock down their alkalinity. Phosphoric acid will leave phosphates in the finished beer, which are fairly neutrally flavored, and is a compound that is naturally occurring in malts. One thing to be wary of: Just as phosphates from malt will precipitate out with calcium and magnesium, so will the phosphates from the phosphoric acid, further reducing calcium and magnesium levels. So supplementing with a bit of either calcium chloride or calcium sulfate may be a good idea if you you are adding 85% phosphoric acid. Some suppliers will also provide 10% phosphoric acid. This is good for folks who use RO water, but requires large quantities for brewers like myself dealing with high alkalinity brewing water.
Another very popular choice among homebrewers is 88% lactic acid, and for good reasons. It is fairly flavor neutral and is the same acid that provides the clean, tart acidity found in yogurt and sour cream. If you are using acidulated malt, you are going to be adding lactic acid to your mash. A good generalization is that acidulated malt is approximately 3% lactic acid, so if you add 100 grams of acidulated malt to your mash, it is very similar to adding 3 grams of 100% lactic acid or 3.4 grams of 88% lactic acid. Acidulated malt can be bought in bulk and is the perfect alternative to direct acid additions. Simple calculations are suggested if using acidulated malt, but know that it can be used in a great number of recipes for easy
pH adjustments.
Sulphuric acid (H2SO4) and hydrochloric acid (HCl) are almost never recommended for homebrewers. Not because they are ill-advised for brewing, but rather because of safety issues. Both chemicals are extremely corrosive and both can form acidic mists that are extremely harmful to humans if they get in your eyes or if inhaled. Even in diluted form, you will rarely see either of these chemicals discussed in brewing. This is unfortunate since strictly from a water chemistry point of view, adding these acids can — proverbially speaking — kill two birds with one stone; brewers could knock down their alkalinity while adding either sulfates, chlorides, or both. But as mentioned, the risks don’t match the rewards. Unless you are well versed in handling such corrosive chemicals, and have a well-ventilated area with a proper respirator, gloves, and mask, I recommend sticking with either phosphoric or lactic acid, both of which are great options.
Just remember one piece of advice no matter what acid you are using: If you ever do need to dilute an acid, you always add the acid to water. NEVER add water to a strong acid!
UP YOUR ALKALINITY
Now let’s focus on going in the other direction and dealing with very soft or RO water and potentially increasing the residual alkalinity. This is for all-grain brewers looking to brew dark beers. If you are using RO water or dealing with very soft water and planning a recipe with higher levels of crystal malts and/or roasted grains, then it is time to start looking at ways to deal with very low residual alkalinity. Generally, there are two ways to achieve this goal. You can hold the crystal malts and roasted grains aside during the bulk of the mash and add them at the start of the lautering process. The second is to add alkalinity to the mash in the form of either baking soda, pickling lime, or dissolved chalk.
Reserve your acidic grains:
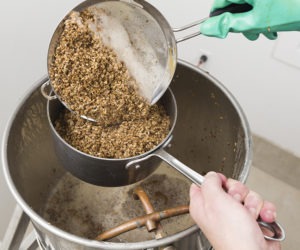
One of the easiest ways to keep your mash pH in a “healthy” range of 5.2–5.5 when using soft water is to withhold the grains that cause severe drops in mash pH. Dark crystal malts provide the biggest drops to mash pH while darkly roasted malts can also provide a big drop. Keep these set aside somewhere during the saccharification portion of the mash. These acidic grains can then be added as you begin to raise the mash to mash out temperature or during the vorlauf/recirculation phase. For those using a brew-in-a-bag system or a similar no-sparge method, these can simply be added during the final 15 minutes of the mash. The goal is to get the bulk of the mash’s enzymatic processing done while in the saccharification enzyme’s healthier pH range. Once that is done, then the acidic grains can drop the mash pH without having serious consequences. Make sure that grains you are withholding are proper steeping grains, however, and not grains that should be mashed.
Adding alkalinity:
While I find the method of reserving the acidic grains to work well with many darker beers, when a homebrewer is using a decent percentage of dark “mash” grains, such as brown malts, coffee malt, or pale chocolate malts, or when there is a very big percentage of darkly roasted grains in such a recipe as an imperial stout, then you may want to look into bumping up the residual alkalinity of the mash. As mentioned, there are three ways a homebrewer can go about adding alkalinity to the mash.
Baking soda (Na2CO3) readily dissolves into solution, which makes it an easy addition in a pinch. On the flip side, it will also quickly and greatly increase the beer’s sodium levels, which may not be a good thing, especially if you’re looking for a higher boost in alkalinity. When a small baking soda addition is combined with the reserving acidic grains method, you may find that the wort pH lands in the perfect pH range.
Pickling lime (Ca(OH)2) is going to be a much better way to add alkalinity if you need to raise mash pH. As mentioned much earlier, the hydroxide ion (OH)– is one of the ions listed as a contributor to brewing water’s alkalinity rating. The problem with pickling lime is that it is a highly corrosive compound and requires special care and precise measuring tools if you plan to utilize in it your brewing. Carefully measuring out a 10% pickling lime solution will allow you to add alkalinity to truly big, dark, roasted beers and keep both the mash pH and ensuing wort pH in a proper range. Please use gloves, eye protection, and common sense if using pickling lime.
Using chalk (CaCO2) would seem like a no-brainer to add alkalinity to your brewing water. Unfortunately for brewers using very soft water, chalk does not readily dissolve in water. It can boost the pH a limited level, but has proven to be unreliable and not completely predictable in tests. A process outlined by Kai Troester in his online article “Building Brewing Water With Dissolved Chalk,” provides a way to dissolve chalk into water so that bicarbonate ions are available to neutralize the hydronium ions in the mash in a predictable and measured fashion. The basic premise of the article is that by force carbonating the water, the chalk will more easily be dissolved. The amount of water required for this is dependent on the level of chalk you need. This can be done with a Soda-Stream machine or a carbonater cap, or even a corny keg. Carbonate the water and shake vigorously. Perform this task a day or so prior to brewing while maintaining pressure. As outlined earlier in this article, increasing the dissolved gaseous CO2 will push the equilibrium towards allowing chalk to dissolve.
MORE WATER INFO
If you are looking for more in-depth knowledge on residual alkalinity and pH, there are some great resources out there. I recommend exploring Kai Troester’s three-part series covering pH in brewing, Martin Brungard’s “Water Knowledge” online article, AJ DeLange’s “A Brewing Water Chemistry Primer” on Homebrewtalk.com, and John Palmer and Colin Kaminski’s book Water: A Comprehensive Guide For Brewers.