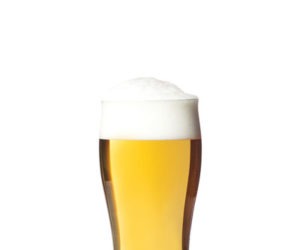
Stein Beer

Brewing on the homestead is just like living on the homestead: You grow your own, you make your own (when possible), you try to avoid buying stuff, you learn the conventional methods and then adapt them to suit your own conventions.
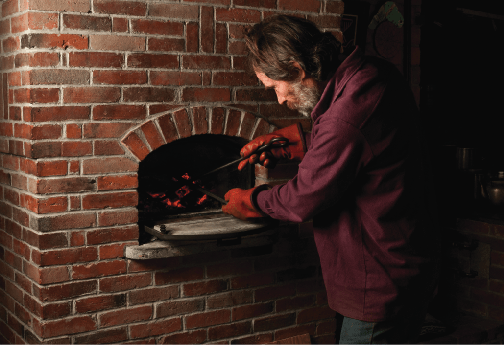
I heard about a brewery in Germany that, once upon a time, acquired a good-sized meteorite, which they heated to red hot upon a rick of oak wood and then dropped into a kettle of waiting wort to achieve a very fast and outrageous boil. They used the meteorite over and over again and they called the brew steinbier. I liked the sound of steinbier and I thought I would try it.
Brewing at my Vermont home all takes place in the winter. Brewing on the homestead is just like living on the homestead: You grow your own, you make your own (when possible), you try to avoid buying stuff, you learn the conventional methods and then adapt them to suit your own conventions.

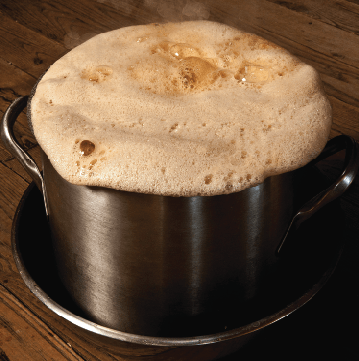
I read this magazine, I check out the recipes. I see the graphs. I ogle the equations and the mathematics and realize the science — all of this is very cool but . . . I don’t do any of it — and you know what? I still make good beer. I mash in a 5-gallon (19-L) pot for 60 minutes, more or less, at 150 °F (66 °C) give or take; I sparge with 180 °F (82 °C) water to yield from 6 to 7 gallons (23 to 26 L). I boil in this same pot, aided by the almighty stein, for as long as it takes to get to 5 gallons (19 L). I divide the wort into two pots and set them into the snow to cool to 80 °F (26 °C) more or less. I pitch with Coopers ale yeast, pour the yeast through a strainer set in a funnel set in the carboy and then dump the liquor through, catching the hops. I let it ferment until it stops bubbling then I siphon the beer into a bucket holding 3⁄4 cups of sugar; I siphon out of that bucket into bottles and cap.
I don’t worry about exact mash temperatures or any other temperatures for that matter — ballpark numbers seem to work out fine. I don’t try to match recipes and I don’t use different specific yeasts. I don’t aerate the wort anymore than splashing into the carboy. I don’t do IBUs and Lovibonds. I don’t measure out my hops and I don’t bother with initial and final gravities. Now, don’t get me wrong here. I think all these shenanigans are righteous and I love knowing and thinking about them. I just don’t do them myself.
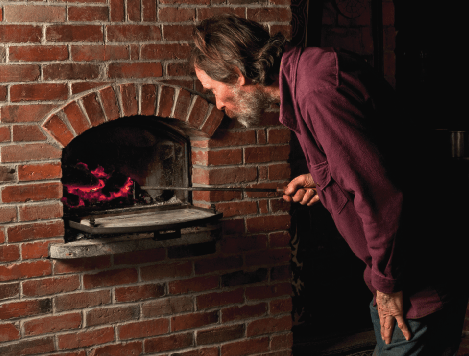
I buy 50 pounds (23 kg) of organic seed barley (usually 6-row), malt it myself in a series of batches in the house. The malting is done in a plastic bucket with a myriad of holes drilled in the bottom (the sparge is done in the same bucket). I then brew five batches of beer at 5 gallons (19 L) apiece, using approximately 10 pounds (4.5 kg) of malt per batch. Winter is the right time to brew for various reasons. First, the corner of the kitchen where the malting bucket sits rarely ventures above 60 °F (15 °C) and the rinse water from the spring is in the 30s °F(1 to 2 °C), so the malt stays clean and crisp and is never in danger of smelling damp or musty. Second, the woodstoves are always going and available for drying and roasting the malt. Base malt dries well on top of my bricked-up masonry oven and roasting can happen at varying temperatures inside the oven as it cools after the coals are raked out. Third, the snowdrifts outside are just the ticket for cooling the wort down. Please note: Making steinbier at home can be extremely dangerous — please see safety warnings on page 71 to prevent any harm to yourself or property.
Photos by Flying Squirrel/John Douglas


Steinbier Safety
Please note: Making a steinbier at home is dangerous. If you are considering trying to brew your own steinbier, you must make safety your first priority. Keep these two considerations in mind:
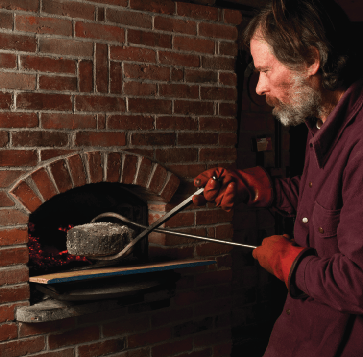
1. Fire = bad. An open fire is dangerous, so be sure that your heat source is contained and that you have a fire extinguisher nearby. Use protective eyewear, insulated and flame-resistant gloves and a flame-resistant welding apron at all times.
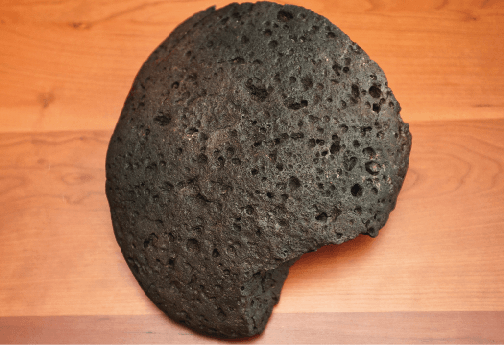
2. Superheated rocks can burn you and/or explode. “Stein” rocks are extremely hot and need to be handled and transferred with care. Be sure to use long, well-insulated welding tongs for transferring the rock from the fire to the brewpot. Rocks also must be chosen carefully. Granite is the best choice for homebrewers as any moisture trapped in the rock will become superheated and can cause the rock to explode.
What is Steinbier?
The word “steinbier” means “stone beer” in German. The name originates from a technique of boiling wort in the brew kettle by dropping super-heated stones into the kettle. In the old days, many brew kettles were made of wood and obviously could not be direct-fired. The hot-stone method, therefore, was the only way the wort could be brought to a boil. Beer boiled this way also tasted different from “normal” beer, because the rocks, when dropped into the brew, scorched and caramelized some of the malt sugars. The result was a smoky-tasting deposit that literally sugar-coated the rocks. Once the beer was strained from the brew kettle into the fermenter and had cooled down, the coated rocks were removed from the kettle, too, and dropped into the fermenting beer. There, the yeast made short shrift of the sugar coating. The result was a beer with a pleasantly smoky flavor and a slightly sweet, malt-candy-like finish.
(From http://www.germanbeer institute.com, Horst Dornbusch)