Portable RO System: Water on the go

Maybe like me you have come to realize the importance that water and water chemistry plays in the flavor of the beer you brew. And maybe like me you have also wanted to take control of the mineral composition of the water you use for brewing so you can dial in a particular profile for that perfect helles, NEIPA, or saison. If you want help with that . . . I’m not your guy. I’ll be the first to admit that I bought, read, and understood little in Water: A Comprehensive Guide for Brewers by John Palmer and Colin Kaminski.
Realizing I’m not an expert and being okay with that I made it my goal to make the water modification process as easy and repeatable as possible. Those goals were part of the reason I started using reverse osmosis (RO) water instead of carbon-filtered water from my tap. Using RO water means I am essentially starting from a blank slate every time I sit down to design a water profile for a beer I’m brewing. That’s because the mineral profile of RO water, unlike that of my tap water, doesn’t change with the seasons, doesn’t change based on the water source the treatment plant may be using that day/week/month, doesn’t change based on the amount of rain or snow fall, etc. It’s really consistent. And consistency is important in brewing if you want to brew the best beer possible.
Well . . . necessity is the mother of invention so I designed a cart that would hold my RO system . . .
But as with most things there are some cons to go along with the pros. The biggest con for me was the initial investment. I knew I was going to drop a bit of my brewing allowance on a nice RO system. But I was already buying 5–10 gallons (19–38 L) of distilled water at $1 per gallon ($0.27 per L) for many of my brew days, so I knew it wouldn’t take long for the system to pay for itself. Another con was that fact that the majority of RO water filter systems are meant to be mounted to a wall and semi-permanently plumbed into a water source. I was not in a position to be able to do this so I knew I’d have to figure out another solution.
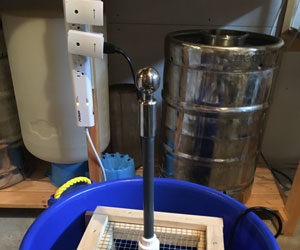
Well . . . necessity is the mother of invention so I designed a cart that would hold my RO system, holding tank, and all the necessary items needed to move the RO water out of the holding tank and into my brewing kettles. It’s not connected into my home’s plumbing system. Instead it’s mounted to the cart, can be moved to the sink where I let the RO system do its work, and then I move it back to my brewing space to be used to make delicious beer.
So for those who don’t have the space, option, or desire to permanently install an RO system, a mobile cart might be a great option for you. The only feature I’m considering adding in the future is a water heater element and timer. With this I could have my brewing water both filtered and ready for mashing in when I wake up.
Tool and Materials
• RO water filtration system with float valve (http://wholesale.spectrapure.com/CSP-Manual-Flush-90-GPD-RO-System)
• Hydraulic lift table (https://www.harborfreight.com/61405.html)
• 1⁄2-in. weldless bulkhead
• Edge pickup diptube
• 1⁄2-in. ball valve
• 12V DC pump
• HDPE water barrel or other storage tank
• Pegboard or plywood
• 13⁄16-in. spade bit
• 7⁄16-in. spade bit
• Electric drill


