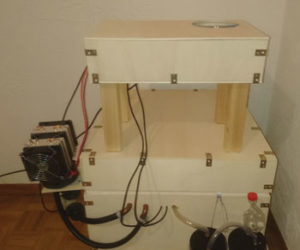
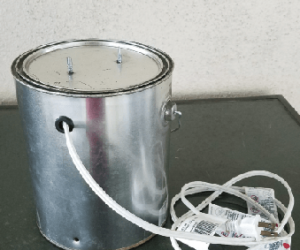
Side-By-Side Fermentation Unit
Converting an old fridge
Disclaimer: We are working with 115V. If you are not comfortable with your abilities, consult an Electrician.

Dialing in the temperature of the fermentation based on the chosen yeast can elevate your beer. Brewers may also want to raise temperature for a diacetyl rest or cold crash a particular style of beer and a fermentation chamber along with a temperature controller works great for this.
I decided to make the move from a brew bucket to a conical and needed a larger fermentation chamber to fit it. I looked at a ton of different refrigerators and freezers and the only style that would fit my conical was a side-by-side fridge. I needed an inside height of 44.5 in. (1.13 m) based on the tallest attachment on the conical’s lid and a depth of about 20 in. (51 cm) for the attachments on the front.
I found a side-by-side refrigerator for only $100 (USD). The inside dimensions were 54-in. high x 32-in. wide x 26 in. deep (1.38-m x 0.81-m x 0.66-m) so this would give me plenty of room. I gutted just about everything out of it including the glass shelves, wire baskets, ice maker, water and ice dispenser on the door, and the interior dividing wall (so I could make it into one large chamber). The only things left intact were the wiring harness on the ceiling and the cooling unit in the back.
The refrigerator side of the unit alone was large enough to fit the conical, so I did consider leaving the freezer alone, but I decided I didn’t need the extra freezer space. Also, keeping the interior wall would have forced me to make a venting system to push the cold freezer air over to the fridge side when there was a need for cooling. In addition, the extra room without the interior wall gives me plenty of room for a blow off vessel, the heater/fan unit, and the option to add another fermenter if I ever choose to do so.
I decided to make the move from a brew bucket to a conical and needed a larger fermentation chamber to fit it.
There are many temperature controllers on the market to control your fermentation chamber, but I chose to go with the BrewPi controller. The BrewPi unit basically controls your fermentation chamber by using one temperature probe measuring the inside of the chamber and the other temperature probe inside a thermowell on your fermenter to measure the wort temperature.
Based on the temperature of the wort and the temperature you need your wort to be, the controller will either turn on the compressor to cool the wort or turn on your heater to warm the wort. For example, my yeast may have an optimal range of 68–72 °F (20–22 °C). I will set a 10-day profile on my controller to start the wort at 68 °F (20 °C) and then raise the temperature of the wort over a 10-day period to 72 °F (22 °C). When fermentation is complete, I’ll soft-crash the beer to 50 °F (10 °C) for dry hopping, then finally lower the wort to 38 °F (3 °C) to help drop the hops and yeast out of suspension and prepare for a closed transfer from the conical to a keg.
Tools and Materials
- Side-by-side refrigerator (cooling)
- Porcelain light socket (heating)
- 150-W reptile bulb (heating)
- Computer fan (heating)
- BrewPi temperature controller
- 2×4 board (floor)
- Composite decking (floor)
- 2×2 board (viewing window)
- (2) 5-in. x 7-in. (13-cm x 18-cm) glass (viewing window)
- (2) Solid state relays
- Oscillating multi-tool
- Duct tape
- Silicone caulk


