Simple Tap Cleaner: Projects

In addition to balancing carbonation and keeping the temperature appropriate to style, a big part of maintaining a homebrew kegging system and serving homebrew is keeping the beverage lines and dispensing hardware clean and sanitized.
Tap lines are pressurized to keep out the air, which prevents the keg from losing carbonation or spoiling the beer in the keg. However, each time you disconnect an empty keg and replace it with a fresh one, a small amount of beer or beer residue can get trapped in the line from the old keg. This residue can sit in the lines and cause a buildup of bacteria, yeast and mold, which can negatively impact the flavor of the beer in the next keg and even cause excessive foaming. Therefore it is a good idea to clean your tap lines and dispensing hardware each time you change the keg. Think of it as cleaning your beer glass after drinking from it.
One of the biggest reasons why brewers don’t clean their lines, however, is because it’s perceived as a chore. Cleaning tap lines should be quick and easy in order to ensure that it gets done frequently, otherwise cleaning gets put off over and over again. This design is not only inexpensive to build, it is also incredibly simple to use — and cleans your lines and fixtures in no time.

And while a DIY project based around cleanup isn’t particularly sexy, this one will provide tremendous utility in the form of saving time, minimizing losses to infection, and helping to avoid sour- or funky-tasting beverage lines. There’s nothing worse, perhaps, than great beer served through dirty lines — especially a great beer that you brewed yourself, and the simple tap cleaner project presented here will keep your lines and faucets clean and funk-free.
Additionally, this project avoids the use of a keg and CO2 to push cleaning solution through the lines and taps. You may find this handy if all of your kegs are full of beer or if you have just run out of gas.
(Note: this cleaner only works on kegerators that have faucets attached to shanks. Those with draft tower setups won’t be able to make use of this particular design).
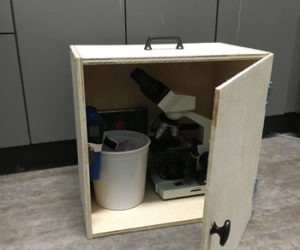
Parts and tools list
As with any DIY project I embark on,
the prime directives are “effective” and “low cost.” This one, in
particular, meets both directives. Here’s what you’ll need to put
together a simple, effective tap/line cleaner:
Parts and tools
• Brass fitting: 3⁄8” male pipe thread to 1⁄4” hose barb (WattsA-193)
• Beverage tubing: approximately 3 feet of 1⁄4” ID
• Gasket: a single gasket from a flip-top Grolsch-style bottle; or you can cut your own from a sheet of gasket rubber
• Two small hose clamps
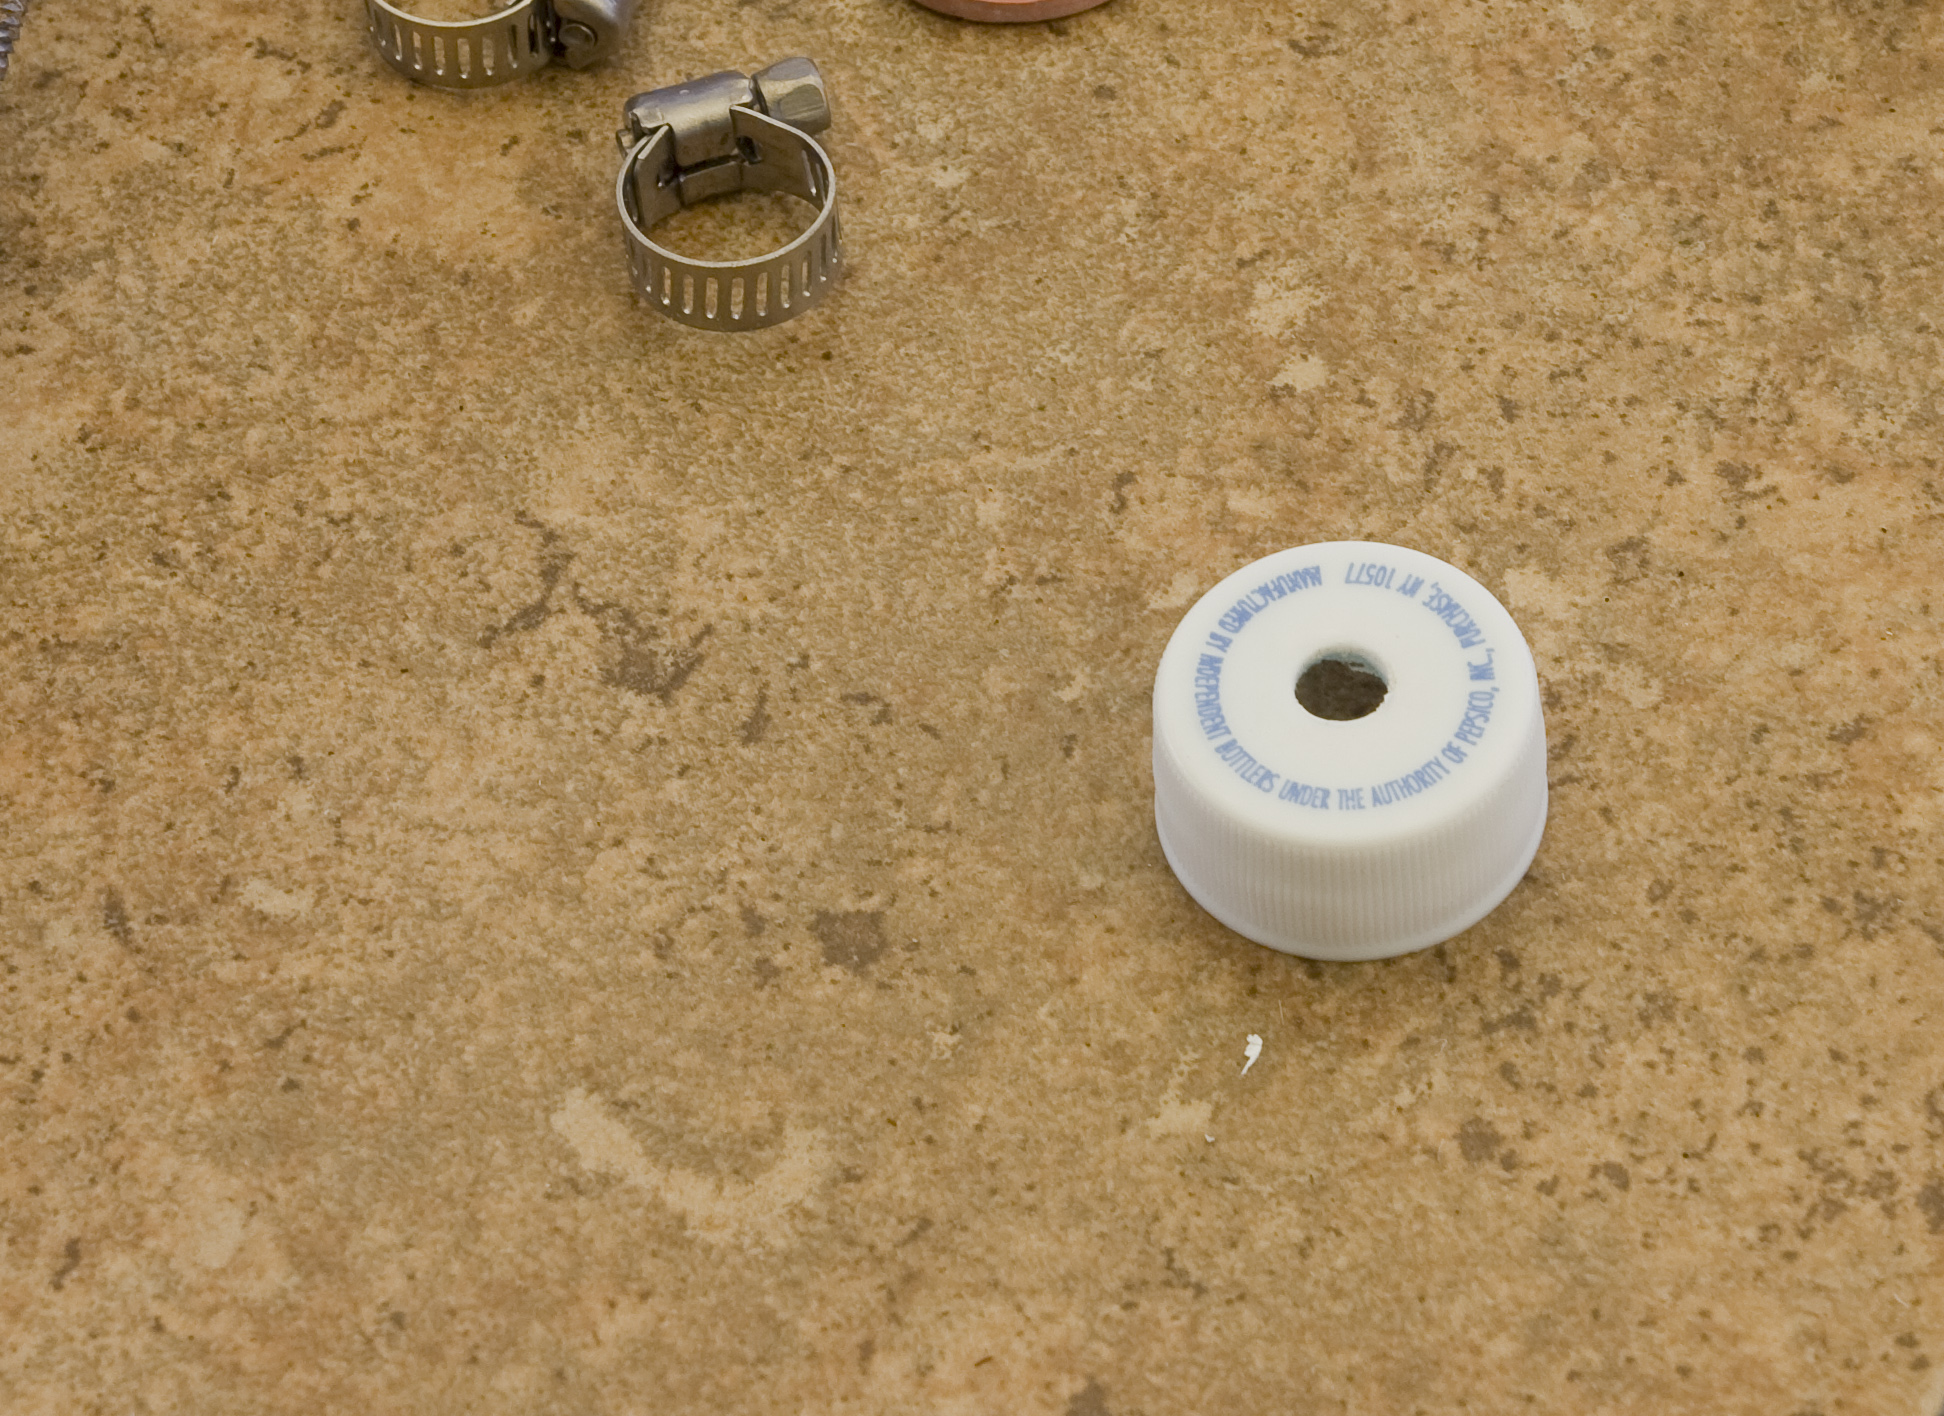
• One 1- or 2-liter plastic soda bottle with cap (I recommend having a few extra caps on hand in case you mis-drill)
• If your shanks require a beer nut to connect tubing, you’ll need that as well.
Tools:
• Hand drill with 1⁄4” twist bit
• Round hand file

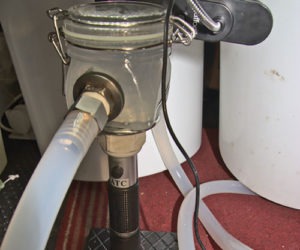
1. Assemble the parts
For quick cleaning during a keg change-out, you may simply want to use the beverage tubing already connected between your liquid-out disconnect and the tap. During a more extensive cleaning job, you may wish to use a dedicated section of tubing just for the tap cleaner bottle and soak your beverage lines in a separate container.
2. Putting it together
The
process to put the tap cleaner together is very straightforward. The only tricky part is getting the drilling just right. It is important to get the hole as close to the center of the bottle cap as possible; otherwise, the brass fitting may not fit properly and the hole in the cap will not line up with the hole in the gasket.
Drill a 1⁄4” hole in the center of the bottle cap. The hose barb end of the fitting will not quite clear the 1⁄4” hole, so you’ll need to slightly widen the hole with a round file. Widen the hole in small increments, and check for a snug fit each time you widen. You could also scrape out the hole with a utility knife or another sharp implement, but a round file makes for quick work in this case. If you don’t have a round file on hand, I highly recommend picking one up for your toolbox, as they come in handy quite a bit more often than you might think.

3. Add the gasket
Remove any plastic burs that were extruded during the drilling and filing process, and then lay the Grolsch gasket flat in the bottle cap (see photo). If the hole in the gasket doesn’t line up with the hole in the cap, you may need to start fresh with an undrilled cap and the get the hole closer to the center.

4. Make it leak free
Now push the hose barb end of the brass fitting through the holes in the gasket and bottle cap (see photo). It should be a very tight fit, otherwise you may run into trouble keeping a seal when the bottle is full of cleaning solution. I have built three of these tap cleaners for testing before writing this article, and all three kept a tight, leak-free seal without the use of any kind of sealant. However, you can use 100% silicone caulk as a sealant if you wish. Apply it between the bottle cap and the gasket and also where the brass fitting presses against the gasket. If you are unsure which caulk to choose, you can pick up some “aquarium sealant” at your local pet store, as it is 100% silicone.

5. Add the hose clamp
Slip the beverage tubing over the exposed hose barb. This will be a tight fit, and you may need to heat the tubing under running hot water in order to soften it up enough to facilitate the barb. Slip on a hose clamp and tighten it. Now screw the completed cap assembly into the bottle to check that the fitting clears the screw threads on the bottle. Give the setup a test run with plain water at the sink to be sure your fittings are all tight. If not, go back and troubleshoot where you see leaks. You may need to start again with a new bottle if the fittings seem loose. If there are no leaks, you are now ready to clean those taps!

6. Cleaning your taps
Fill the bottle with your cleaning solution of choice. I use Beer Line Cleaner (BLC) or Powdered Brewery Wash (PBW), followed by a flush with clean, warm water, and finished off with a mild StarSan solution. Attach the tap cleaner’s tubing to a faucet shank, and then hold the bottle above the level of the shank. Open the tap to allow the flow to start from the bottle. You will find that because there is no vent on the tap cleaner, you will have to squeeze the bottle periodically to keep the flow moving. If you are using quick disconnects, they will need to be removed or opened to allow the solution to flow. Sanke couplers can be locked into the “open” position. Dispense 1⁄4 of the bottle and then close the tap to let the solution sit in the lines and the faucet for a few minutes, then continue dispensing the cleaning solution.