Session Meads: Making Carbonated, Lower-ABV Meads
There is not currently a standard definition for session mead; the very use of the term itself is a matter of some dispute, depending on who you talk to. However, based on the commercial meads available in the market bearing this designation there are a couple of things one can expect from a session mead. First, session meads have an alcohol level that is typically 50% or less of their stronger siblings — generally coming in between 6–8.5% ABV, making them much lighter in body and texture than dessert-style meads.
Secondly, session meads also tend be quite a bit drier in comparison to dessert meads, and many are objectively dry, meaning they have no residual sugar. Session meads are offered in a broad range of flavors, and with each new release it seems there is no limit to the ingredients and creativity being brought to bear, however the dryness is a common thread tying them together.
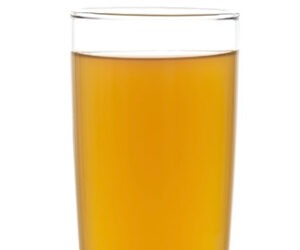
The final key aspect of session meads is that they are packaged as a carbonated beverage. For me personally, the carbonation in session meads is what brings them together and makes them such an appealing beverage. The lower alcohol, drier finish, and range of flavors are wrapped up nicely with the crisp, prickly texture of CO2 bubbles.
Another term that readers may see used to describe what I have defined as a session mead is hydromel. This term is most often used in competition settings, or by those who have mead judging experience. Specifically, hydromel is used to categorize meads that are less than 7.5% ABV from those that are stronger.

Now that we have a working definition of session mead, let’s consider why we would make one. Of course we don’t really need a reason to make a session mead any more than we need a reason to make mead in the first place, but there are some genuine motivations for the production of session meads that are worth discussing. Maybe most conspicuously, the lower amount of alcohol in a session mead changes how one can approach consuming it. This characteristic opens up the possibility of casual consumption by the glass and over a longer period without the downside of intoxication.
The overall lighter profile, dryness, and carbonation of session meads can also make them even more food-friendly than other styles of mead, another great motivation for making your own session mead or seeking out commercial versions.
SENSORY ANALYSIS OF SESSION MEADS
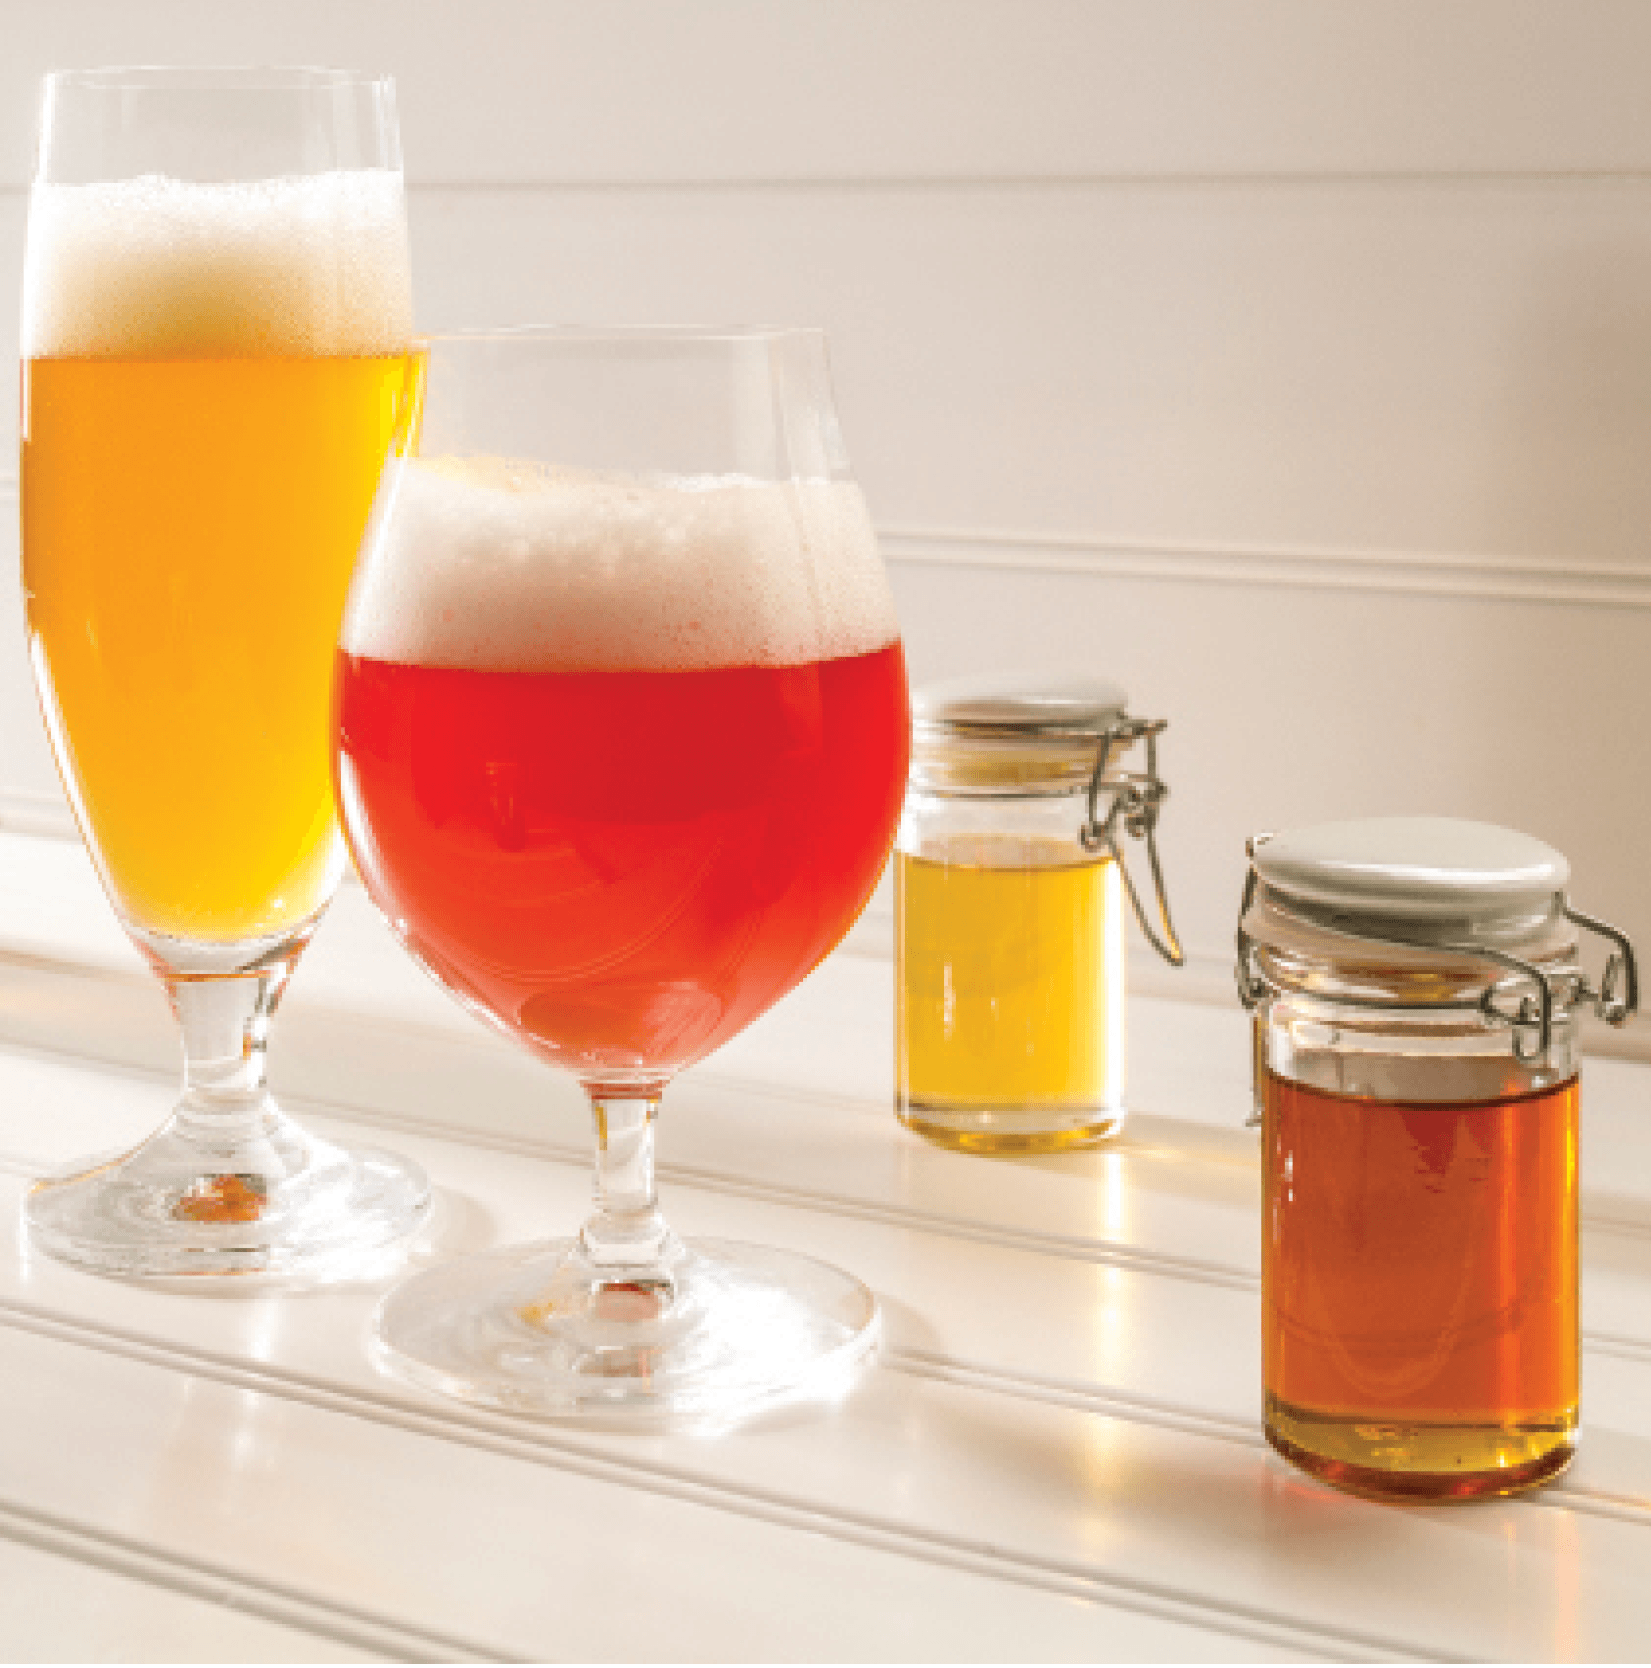
The aromas of traditional (unflavored) session meads will be subtle in comparison to dessert meads, but despite that, it would not be unexpected that you might describe a session mead as floral, fruity, herbal, earthy, or in other terms similar to ones used for the base honey itself. Once you add flavors it should be assumed that the additions will be obvious and may in fact be more perceptible than the honey. While balance is the goal for well crafted beverages, it is also practical to expect that a strawberry session mead will be strawberries first in the nose with honey providing background notes.
Dry, unflavored session meads will follow the flavors of the base honey, which can span quite a range. A recent batch I made was from a base of clover and mesquite honeys, which made it grassy, minty, and slightly fruity. When it was fermented dry it was mostly grassy, almost grain-like, with hints of mint and fruit. I’ve also found that wildflower honeys make a great start for session meads. After fermentation, these meads typically end up with subtle notes of flowers and fruit, but can be quite bland. Additions of fruits and/or spices will then bring everything together.
Session meads are typically light in body, but unless they are very low ABV (<5%) they shouldn’t taste outright watery. Until a session mead is carbonated the light body is really obvious and can underwhelm. The addition of carbonation brightens up the aromas and flavors and adds a fanciful texture.
INGREDIENTS
Ingredient selection for session meads is not fundamentally different than that for any other mead, but the volume of honey and fruits used will be significantly less than for dessert meads, which does pose a couple potential challenges.
For session meads the starting and final gravities are much lower, which means we aren’t putting a lot in the must and we will be fermenting all of the sugars that we do include out to dryness.
With this first challenge in mind there are a couple different approaches that can be taken to produce a delicious session mead. At the 2017 Mazer Cup I caught up with Joey Zumalt from Kaw Point Meadery in Kansas City and asked him what his preferred method of creating session mead bases was. He suggested using a good all-around honey, like clover, orange blossom, or wildflower, fermenting it dry and then using fruits and specialty honeys to add aromas, flavors, and textures to the stable mead. I’ve employed this approach several times with great success. Used this way the base honeys don’t necessarily need to be unique or specifically characterful because you are going to layer additional flavors on top.
Another approach would be to select a varietal honey that is more characterful and ferment it dry with the expectation that the more unique attributes of the honey will show through in the finished product. This decision would be most applicable for session meads with no added ingredients or lightly spiced versions. For this method, honey varietals like blackberry and raspberry would provide much more resulting character in a session mead base. A honey like buckwheat would also work this way, but buckwheat honey can sometimes have an overwhelming character (barnyard & urea), which makes for a great example of understanding your ingredients before starting a new project.
A third method would be to ferment a strong mead and then dilute it to the target volume after stabilization. I have employed this process several times, but not enough to truly be able to suggest how to decide when it would be best used. I have observed that meads with primary additions like tea, hibiscus, and other spices might work better this way.
Like any other style of mead, the addition of fruits and/or spices is a choice that a meadmaker has in their toolbox. Session meads with additions of fruits and spices can be really fantastic. Just imagine an ice cold, light bodied, and carbonated mead with flavors of strawberry and lemon on a hot day. The application of fruit and/or spices in session meads is similar to that of other meads, but bear in mind that you won’t need as much because the base mead is so much lighter. Almost any fruit can be used to flavor session meads, and combinations like berries and lemon, peach and ginger, or orange and vanilla can create even more interesting results.
YEAST SELECTION
Yeast selection for the fermentation of session meads is pretty straightforward. The potential alcohol of a fermented session mead is low enough for most yeasts to reliably complete the process. Without the alcohol toxicity of the yeast to consider you are left with temperature, nutritional requirements, and any special attributes a yeast might typically impart to make the decision. Mixed strain fermentations are another area that meadmakers are working in, but that is a topic for another article.
There are several yeast strains that I use to ferment mead. Let me share a bit about my “house strains,” if you will.
LALVIN 71B-1122 is a great all around yeast for me. It has a lower alcohol toxicity, typically around 14.5% ABV, and ferments clean at cooler temperatures. I typically employ it at 62–64 °F (17–18 °C), and have noticed once you get down to 58–60 °F (14–16 °C) it will be very slow or may actually stall. It does have higher ability to metabolize malic acid than other wine yeasts, and it can extract more esters and phenols from meads/wine musts so it is favorably viewed as a yeast that will soften the profile, reducing the time required for aging.
SAFALE US-05 is an ale yeast, but it also works very well on mead fermentations. US-05 will ferment well, but slowly, below 60 °F (16 °C), but I’ve found it works best at 62–64 °F (17–18 °C) without the production of unwanted esters, phenolics, or fusel alcohols. Known for its neutral profile, US-05 won’t typically impart any of its own character at cooler temperatures, allowing for the honey and other ingredients to show through. There is no reliable alcohol toxicity data for US-05, but my experience has shown that 13–14% potential alcohol would not be unexpected.
Champagne yeasts are very common recommendations for mead fermentations. I feel this is very bad advice, especially for new meadmakers. These yeasts are powerhouses with high alcohol tolerances and the propensity to create lots of fusels and higher alcohols, even at relatively cool temperatures. Unless you are truly doing a high-gravity fermentation, above 1.160 for example, and still want to retain 5% or more residual sugar, I don’t recommend these yeast strains for session meads.
Yeast selection does have an impact on the final product, and some yeasts and yeast management techniques can also help with the perception of body. Some yeast strains and fermentation conditions can produce more glycerol, an odorless sugar alcohol that tastes sweet and is perceived to be smoother and fuller than ethanol. Lalvin 71B-1122 is on the high end of the glycerol production scale, one reason it is a popular choice for winemakers.
RESIDUAL SUGARS
Because we aren’t using a lot of fermentables and aren’t leaving much, if any, residual sugars as an immediate result of fermentation, session meads are typically much lighter in body than stronger, sweeter beverages. Practically, this should be the obvious and expected outcome, but I’ve heard meadmakers lament the lack of body in lighter meads more than I expected. Adding sugars to dramatically increase the body of a finished session mead won’t create a balanced, enjoyable mead. Session meads shouldn’t be watery and thin, but they could easily seem that way when compared to another style. So what do we do to retain body in our session meads?
Lighter, carbonated meads really only taste balanced with residual sugar up to around 5%. After that the carbonation struggles to balance the density of the sugar and keep the mead bright. Ideally, I find that 2–3% residual sugar is a nice sweet spot (pun intended) where balance is easy to achieve, especially in fruited meads where the tartness and acidity of the fruit needs a bit of buffering, but the sugar helps express the flavors of the fruit. When I back-sweeten a mead after fermentation I will typically use honey, fruit juices/purees or other sugars like agave nectar.
ENZYMES
There are also winemaking enzymes that are worth considering for the production of mead. I’ve experimented with both of the winemaking enzymes Opti-White and Opti-Red from Scott Labs and found that they can improve the overall profile of a mead similarly as they are used for the production of wine. Both of these additives most noticeably create smoother outcomes, but will also enhance the body, and when it comes to session meads and a pursuit of more body or the perception of it, a little more smoothness can go a long way. I would recommend the application of these two products in different musts based on their contents, where Opti-Red will be best suited for red/dark fruit meads and Opti-White more suited for pale fruited or traditional session meads.
Now that we’ve reviewed potential ingredients and how they might influence the outcome of a session mead, let’s dig into how to use these ingredients to make them.
MAKING SESSION MEADS
Making a session mead is not much different than any other kind of mead, but with a lower starting gravity the fermentation of session meads will typically be much shorter (a week to ten days) than a stronger beverage. Session meads should be made using techniques typical to other mead styles, including yeast re-hydration, aeration, degassing, staggered nutrition, and stabilization (learn more about these techniques at: https://winemakermag.com/story1624). Because the typical session mead fermentation will be shorter it is extremely important to be prepared to manage these processes in a compressed timeframe.
Building up your mead must is a pretty straightforward activity. Using a large-mouth carboy or plastic bucket, measure out the honey and any fruit juices you wish to use. In order to achieve approximately 6.5% ABV from a dry ferment I have been using 1.4 pounds of honey to each gallon (~170 g of honey per L) of initial volume. Add some hot tap water (just enough to get the honey liquefied after mixing) and mix up the ingredients. Once mixed, top off to your target volume with cool tap water.
Leave space if you are adding whole fruit in primary, and also consider that for every ten pounds (4.5 kg) of whole fruit you are adding about 1 gallon (4 L) of water, which should be factored into your starting volume. For most of my session mead recipes I prefer to use my fruit in secondary. I do this because I want to retain all the aromas, flavors, sugars, and acids of fresh fruit or juice in the finished product. There is no right or wrong answer, and experimenting with different techniques is the best way to find a process that works best for you.
At this point you have a must ready to ferment. Preparation of the yeast is up next, and after pitching the yeast you will want to get your fermentation vessel closed up and sealed with an airlock.
Yeast preparation for any type of fermentation is one of the key steps that should be taken to guarantee a successful outcome. There are many techniques documented in books and on the Internet, but after nearly 15 years of fermentation experience I have standardized around the use of a yeast re-hydration agent and a short re-hydration process prior to pitching. When using a yeast re-hydration agent it is recommended practice to follow the usage guidelines for optimal results. The simple process, also covered in step-by-step detail at the earlier link, is to warm water to 110 °F (43 °C) and add your re-hydration agent and stir. Once the temperature comes down to 104 °F (40 °C) or below, the yeast is added and allowed to hydrate and start to bloom. After 10 minutes I typically also stir a small amount of honey or my prepared must into this solution to give the yeast something to eat. You should see obvious activity in about 20 minutes after adding the yeast.
Yeast amounts vary from one meadmaker to the next, but in the last couple years I have arrived at a typical regimen based on the gravity and volume of the mead working under the “yeast is cheap” mantra. For session meads I will use 2–3 grams of yeast per gallon (4 L). I acknowledge that these amounts may exceed the 5- to 11.5-gram sachet sizes commonly sold at homebrew shops and recommended for 5–6 gallon (19–23 L) batches. Think of it this way, the yeast you add are the workers who will get the job done. Making sure you have enough workers and that they are well fed will definitely have a positive impact on the outcome.
Now that you’ve prepared and pitched your yeast, you should expect to see an active fermentation in anywhere from a couple of hours up to a day. I typically see the onset of fermentation in 4-6 hours. Once fermentation begins, it’s time to focus on degassing and nutrition. There are a number of common protocols for mead fermentation nutrition, and for the most part you will find success with any of them that employ a staggered nutrient addition method. The calculation of the amounts of nutrient and timing of additions will be based on gravity, volume, and the pace of fermentation.
During the fall and winter months in my home state of New Hampshire is when I tend to do the majority of my fermentation. This is both because the ambient temperature in my house is in the low 60s °F (~17 °C), which is great for fermenting in containers without any other temperature control, but also because our three season porch, which hovers in the low 30s °F (~0 °C), makes for a great place to cold crash finished meads. I use cold crashing to speed the flocculation of yeast and precipitation of sediment prior to stabilizing the mead. In the warmer months I use a temperature controlled refrigerator to ferment and cold crash, but that doesn’t provide nearly enough space to have many projects going on concurrently as I am known to do.
Once a cold crashed mead looks to have cleared, I will rack off the clearing liquid and leave the entire cake of sediment behind. To this newly racked mead I add potassium meta-bisulfite and potassium sorbate to prevent continued fermentation. In standard winemaking practice completely dry wines/meads that are being stabilized and will not be back-sweetened do not need potassium sorbate as part of the stabilization addition. I typically add both when I am making session meads because it is rare that I do not add something that has a small amount of fermentable sugar. After a couple days, during which I will check to see if there is airlock activity, I will then proceed to add any secondary additions.
With a fermented and stable session mead base there are many options of what to do next. If the goal was a dry traditional mead, then go straight to clarification, or even packaging if the mead is clear enough for your tastes. If fruit, spices, and/or some sweetness are desired this is where you can finish the mead with these additions. Fruit juices and purees work really well at this stage, but whole fruit is also a possibility. There is really only one key aspect to keep in mind, you really don’t want to add too much of anything and risk losing the subtle honey character. As mentioned previously, you also want to keep an eye on the amount of sugar added because above 4–5% residual sugar makes finding balance in the finished, carbonated product more challenging.
Once clear, I like to keg and force carbonate my session meads. There are other options like bottle conditioning, but that will only apply to dry sparkling meads. Anything with residual sugar will need to be kegged in order to be carbonated. Once kegged, any method of carbonating the keg will suffice. If I leave a keg on with my typical service pressure it will take about 1 week to fully carbonate.
FINAL THOUGHTS
Session meads are quickly moving from a relatively obscure style to a very mainstream mead offering. Making them is not that much different than other meads, but where the outcome is lighter and more austere it makes sense to understand what to expect for both the process and the finished product. Session meads still provide a great blank canvas for creativity and experimentation, and the addition of carbonation can add dimension that really makes them shine!
KEY LIME SESSION MEAD
(5 gallon/19 L batch)
OG = 1.054 FG = 0.997 (prior to backsweetening)
ABV: ~7.6%
Ingredients
7.1 lbs. (3.2 kg) mesquite honey
1.75 lbs. (0.8 kg) mesquite honey (for backsweetening)
15 g Lalvin 71B-1122 yeast
18 g BSG Startup™ (yeast re-hydration)
7.5 g BSG Superfood®
2.5 g diammonium phosphate (DAP)
24 fl. oz. (0.7 L) key lime juice
1.6 g potassium metabisulfite
3 g potassium sorbate
1 Tbsp. Sparkalloid
3/4 cup corn sugar (if priming)
Step by Step
Place honey in a large fermenting bucket. Add 1.5 gallons (5.7 L) of hot water. Mix until the honey is well diluted. Top off to just shy of 5 gallons (19 L) with cold water and mix well. Mixing is the simplest form of aeration, but if you have a setup to aerate with forced oxygen this can also be used.
Prepare your Startup™ or other yeast re-hydration agent in 12 oz. (340 g) of 110 °F (43 °C) water. Add the yeast when the temperature drops below 104 °F (40 °C). Let it sit for 10 minutes. Add 1 Tbsp. of the prepared must and stir in the yeast. Allow this to sit for another 10 minutes. Activity should be obvious a few minutes after mixing the last time.
Once the temperature of the must and the rehydrating yeast are within 18 °F (10 °C) of each other the yeast can be pitched into the must and the bucket can be sealed with an airlock.
One third of the BSG Superfood® and DAP should be added at 24, 48 and 72 hours after yeast was pitched. A vigorous degassing with a spoon/paddle should be performed before each nutrient addition.
When the mead reaches terminal gravity, rack into a carboy and add the potassium metabisulfite and potassium sorbate. Allow this to sit for 1–2 days to ensure any active fermentation completes. Prepare Sparkalloid in 8 oz. (227 g) of boiled water for clarification purposes. Add the remaining honey (mix with a little hot water to liquefy), key lime juice, and Sparkalloid. Mix well. The gravity at this point should rise to about 1.010.
Once the mead is clear, or as clear as desired, it can be kegged or bottled. Mead can be left still or carbonated to 2–3 volumes of CO2.