Water Ways, Fermenting Seltzers, And All-In-One Brew Systems
Q In the January-February 2023 issue of BYO, you reference your water tool. Can you please shed some light on that?
Frank Long
Cooperstown, New York

A Me and my big fingers! Did I type some words about my water tool? While it’s tempting to geek out with water math, I’ll try to keep this answer informative without jumping down the drain. In my opinion, the first step in assessing brewing water is the calculation of residual alkalinity using Kolbach’s method from 1951. While it’s nice to understand the units behind the calculation, it’s not required. Residual alkalinity (RA) = (bicarbonate concentration [mg/L] x 0.046) – (calcium concentration [mg/L] x 0.04) – (magnesium concentration [mg/L] x 0.033). For the sake of discussion, assume we have a water report for our local water and know we have 76-ppm (same as mg/L) calcium, 18-ppm magnesium, and 295-ppm total alkalinity as CaCO3.
We have everything we need to calculate RA, except we need to convert 295-ppm total alkalinity as CaCO3 to ppm HCO3– by multiplying 295 by 1.22. RA = (295 x 1.22 x 0.046) – (76 x 0.04) – (18 x 0.033) = 12.9 °dH (that’s German degrees of hardness, another term that is nice to know about but not required to use the math). Because RA is positive, we know we have alkaline water that will increase mash pH over a standard mash test performed using distilled water. When RA is negative, mash pH is lower than the standard mash. The other thing RA gives us is a magnitude of change; (+) 10 °dH corresponds to an increase in mash pH of ~0.3 and (-) 10 °dH corresponds to a reduction in mash of ~0.3. Looks like our water is pretty darn alkaline and is predicted to drive our mash pH up by about 0.4 pH units! Now what? This is where my water tool helps provide solutions.
There are a few approaches to using this type of water: 1) brew a beer using acidic specialty malts (like roasted or caramel malts) to balance the alkalinity of the water; 2) add calcium and/or magnesium salts to reduce RA; 3) dilute RA with reverse osmosis (RO) water; 4) add an acidulant (usually lactic acid, phosphoric acid, or acid malt); and/or 5) remove alkalinity by boiling and/or treating with calcium hydroxide. These methods, except for the last, are all easy to use for brewers of a wide range of brew sizes, including us homebrewers. And as is the case with many a brewing solution, simultaneously using more than one method is totally cool.
So, that tool you’re asking about combines the approaches listed above, except for alkalinity removal, into an easy-to-use calculator ultimately designed to predict mash pH based on water RA, which we have just calculated, and grist bill. Although mash pH is the process variable most brewers focus on when adjusting brewing water, water components unrelated to pH are also a big deal because they affect beer flavor. John Palmer refers to these components as seasoning, which is really a great analogy. Chloride, sulfate, and sodium targets are entered along with targets for calcium, magnesium, and bicarbonate. The calculations predict mash pH based on the target water profile and grist bill, as well as providing a “water recipe” to use for the brew. When the target concentration of any ion is less than the concentration in the water being treated, RO dilution water volume is calculated.
In addition to knowing the RA of the untreated water, some grist bill basics are needed. This is where mash pH prediction becomes approximate. While the standard malt analytics used to prepare a certificate of analysis (COA) for base malts includes wort pH, special malt data do not. But we do have rules of thumb for how special ingredients like crystal, light-roasted, dark-roasted, and acidulated grains affect mash pH. For each percent of these grain types, pH is reduced by 0.025 (crystal), 0.002 (Munich), 0.03 (light-roasted), 0.05 (dark-roasted), and 0.1 (acidulated) pH units. For example, a mash made up of 95% Pilsner malt with a wort pH of 5.8 (this is from the malt COA), 5% crystal malt, and water with RA = 0 (same as distilled water used for lab testing), will have a mash pH of about 5.68 (5.8 – (5 x 0.025)). The source of this information is from Siebel Institute of Technology’s lectures about brewing water and residual alkalinity and provides the practical brewer with estimates.
In my opinion, the first step in assessing brewing water is the calculation of residual alkalinity using Kolbach’s method from 1951
Let’s assume we are brewing a beer with the water loosely defined above, do not want to add any brewing salts, liquid acids, or RO water, and want the mash pH to be about 5.5. To crunch the numbers, the only two things to consider are RA (12.9 °dH in our assumed water) and grist composition. The water RA tells us our mash pH is going to be pushed up about 0.4 pH units (12.9 °dH / 0.3 pH units per °dH = 0.43) from the lab wort pH (5.8 gets bumped to 6.2), so this brew will either require a big dose of specialty malts with color because light-colored special malts are not very acidic, or we can add acidulated malt to help bring the mash pH into balance. One solution that works out is using 40% base malt, 50% Munich malt, 5% light-roasted malt, and 5% acidulated malt. That grist bill could be a dunkel. Not a bad beer to brew using my example water that just happens to match a reference for Munich water.
But what about brewing a Pilsner with this same water? A great start to this problem is to reduce the very high RA. Calcium additions are an option, but the best water profiles for Pilsner beers have a neutral RA and are relatively low in total dissolved solids (TDS is the sum of all water ions). Adding more salts to the base would simply drive TDS up. The best solutions are either diluting with RO or removing alkalinity. Alkalinity removal is a literal science project and not simple without the requisite set-up, so I am not going to that well.
Diluting with RO water is simple, but target ion concentrations are first required for the calculation. In example 1 below, the calcium target was set to 50 ppm (down from 76) and the bicarbonate target was set to 100 ppm (down from 360). The water tool does the rest, providing base water and RO water volumes, along with required salt additions, options for acid additives, and the profile of the adjusted water. Note that there is still some residual alkalinity because I set the target bicarbonate level down to 100 ppm. The summary below includes a good dose of acid to bring the mash pH down to the target of 5.45.

Using the same water with 12.9 °dH, let’s pivot into IPA territory. Now, we want to know more about water than simply the ions driving pH because IPA water typically has much more “seasoning” than Pilsner water. Per Kunze, Munich well water (source not stated) contains little sulfate or chloride; 10 and 2 ppm respectively. Let’s assume our IPA is brewed using 90% pale ale malt with a lab wort pH of 5.7, 5% wheat malt for added foam stability, and 5% light crystal malt for color. This grist and water combination will yield a higher mash pH than our target of 5.4 because of the high RA.
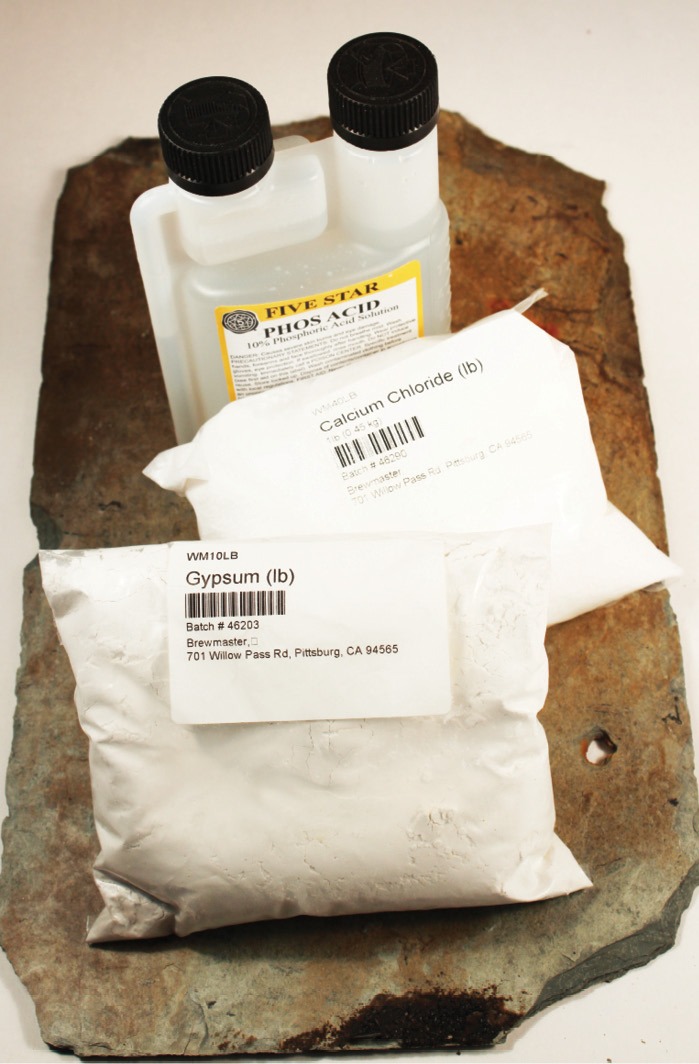
As high TDS waters are common for classic ales and because our base water has very little sulfate or chloride, a good approach to this beer is to reduce RA by adding a combination of calcium sulfate, calcium chloride, and/or magnesium sulfate. The choice of salts depends on what we want in our profile. The water recipe below is one of many possibilities. The combination of grist bill and water salt additions gets us really close to our target mash pH, while providing a similar adjusted water profile to the mineral-rich waters used in classic ales. In example 2 found below, the predicted mash pH (not shown) is still a bit higher than the target and my water tool suggests the addition of a bit of acid to correct.
To download a copy of Mr. Wizard’s water calculator, click here.

Q Just when it seemed that seltzers were going bye bye, I have recently been running into seltzers at taproom breweries that I really like. My favorites are those with robust flavors and colors from additions of fruit, herbs, and flowers. Any tips on giving it a go at home?
Skip Jones
Gainesville, Florida

A Thanks for the fun question, Skip! Now that seltzers have been around for a couple of years, brewers have figured out that the best way to make clean bases is to pitch a mixture of nutrient and yeast into whatever sugar substrate is chosen, oxygenate at much higher levels than typically used for brewery fermentations, ferment in a temperature range for the chosen yeast to minimize sulfur and ester production, and then clarify by fining and/or filtration. Today, it’s easy to find yeast/nutrient blends, seltzer-specific nutrients, and yeast strains identified to work well for seltzers on the market. Check out the answer to Joshua Greenberg’s “Wizard” question in the December 2020 issue of BYO for a nice review about the basics of nutrients.
OK, onto your specific question; tips for seltzer? For starters, I would peek at what commercial producers are doing, but not worry about emulating their model for production. And that model is producing a range of packaged seltzers. I’ll get back to this in a moment. My first tip is to master producing a neutral base and coming to grips on what the neutral base represents to the seltzer master. The seltzer neutral base is not really a playground for exploration because the base is a clean source of ethanol sans distillation, and that’s about it. The commercial seltzer master produces these seltzer bases by clean fermentation of a sugar water solution instead of distillation largely because of tax law. It’s also easier to simply produce a clean base by fermentation, perform a few bits of post-fermentation magic, then package.
Things are different at home. For starters, there is nothing preventing homebrewers from making a diluted alcohol solution using vodka and water, then adding flavors to produce a quick and easy seltzer. In fact, if all you want to do is make a tasty and easy seltzer, this method is the ticket. But it doesn’t check that home-fermented box that most of us desire. The other key difference between commercially and home-produced seltzers is packaging. The commercial group wants to sell cans of all sorts of seltzer products. A big chunk of homebrewers love skipping the small pack and sticking with kegs.
I think your creativity should be focused on what happens to a neutral seltzer after successfully filling a keg with clean and clear seltzer. Instead of producing one batch of seltzer at a time like you do with beer, focus on producing tinctures, syrups, shrubs, etc. that you will add to your clean seltzer. Not much different to how Berliner weisse is tweaked upon serving or how Torani syrups are used to produce Italian-style sodas by dosing into sparkling water. This is where homebrewers have a clear advantage over commercial producers. No branding, no special packages, and no fancy tap handles mean that you can convert your clean seltzer into a huge range of different products right when you pour a glass.
The creative part of this process is making the special sauces used to deliver the complexity of flavor and color you desire. This may not seem like the most groundbreaking bit of advice, but I think it’s solid, and I am sticking to it!
Q I am an all-grain brewer who has typically used a cooler mash tun. I recently bought an Anvil Foundry system, but have not brewed with it yet. Any advice for my first brew day with it? For example, things to know that might not be mentioned in the manual?
Ray Murphy
Cheektowaga, New York
A The Anvil Foundry is one of several mash-boil combination systems on the market using a removable cylinder with perforated bottom section to contain the mash. In contrast to the old school mash tun cooler design, these all-in-one (AIO) systems allow for step mashing using an electric heater element installed in the bottom of the kettle and a recirculation pump to flow heated wort onto a diffusion plate positioned above the mash. This allows uniform mash heating for step mashes as well as a handy way to prevent mash temperature from cooling during infusion mashes because, unlike coolers converted into mash tuns, these kits are not insulated (although removable insulation jackets are available).
I too switched from an old school cooler system to an AIO design two years ago and had my concerns. The biggest difference from my perspective is how wort collection is accomplished and controlled. Whether brewing small batches at home or large batches in a commercial brewery, using wort separation devices such as mash tuns, lauter tuns, Strainmasters, and mash filters, brewers can take samples of wort any time during wort collection and evaluate the color, clarity, and density. This is where AIO designs are most different than other brewing systems.
Instead of wort flowing out of one vessel, like your cooler cum mash tun, into another where sampling is easy, wort collection in AIO systems is accomplished by lifting the mash container/basket within the AIO mash tun/kettle and rotating to align support clips above a support ring. This allows wort to simply drain from the mash basket directly into the kettle. Pretty snazzy! And, just like with any other wort separation method, sparge water can be added to the top of the mash to rinse wort from the sponge-like grain bed.
In my opinion, losing the ability to take wort samples during collection is the biggest sacrifice when transitioning from mash tun brewing to AIO brewing. It’s not the end of the world, but for cranky old dudes like me who like to monitor wort clarity and, more critically, wort gravity and pH, getting used to blindly collecting wort is weird. And it also makes gravity control more challenging because there is no way to determine when it’s time to stop sparging based on wort density flowing into the kettle, the only option is to sparge with a set volume of sparge water.
My advice for first brews on any new brewing system is to minimize the number of things to worry about. This starts with the grist bill; choose a recipe with no more than about four malt types and skip flaked adjuncts and sticky stuff like rye for a future brew. When it comes to expected grain yield, don’t shoot for the moon by fine milling; start out with a coarse grist aimed at brewing ease over efficiency. If you typically use single-temperature mashing in your mash tun cooler, use a single temperature in your new AIO system. And if you have a regular recipe that runs like clockwork, brew that beer instead of something new and different.
The one piece of advice I wish I had followed when first using my AIO system was not to sparge. I still have a hard time suggesting not to sparge because . . . well, just because, dammit, that’s how brewers do brewing! Aside from some loss of extract and brewing tradition, skipping the sparge makes hitting the wort gravity target much easier because the wort density produced during mashing is the same as the pre-boil gravity and removes uncertainty that is inherent with sparging. The easiest way to control pre-boil gravity in no-sparge brewing is by varying the ratio of water-to-malt used in the mash. To calculate the volume of water required for some target, pre-boil gravity from an all-malt mash, use the following equation:
Liquor-to-Grist Ratio (wt/wt) = 3 x 20 °Plato ÷ (Pre-Boil Gravity).
If our target pre-boil gravity is 12 °Plato (1.048 SG), for example, the equation above indicates that the ratio of water-to-grist in our mash should be 5. And if our recipe calls for 8.25 lbs. (3.75 kg) of malt, we need to use 41.25 lbs. (18.75 kg) of water in the mash.
This general rule works because most base malts and lighter colored special malts contain about 80% soluble solids, 1 part malt plus 3 parts water equates to 25% of malt by weight, and a quarter of 80% is 20% or 20 °Plato. Math validation aside, no-sparge mashing makes the target gravity a bit easier to hit. Outside of sparging, all other process steps are similar with AIO systems and your first brew should be a familiar walk in the park!


