Brewing on Autopilot with PID Controllers
Among avid homebrewers, the true equipment junkies (you know who you are) typically drive an automated system like a RIMS (Recirculating Infusion Mash System) or a HERMS (Heat Exchanger Recirculating Mash System).
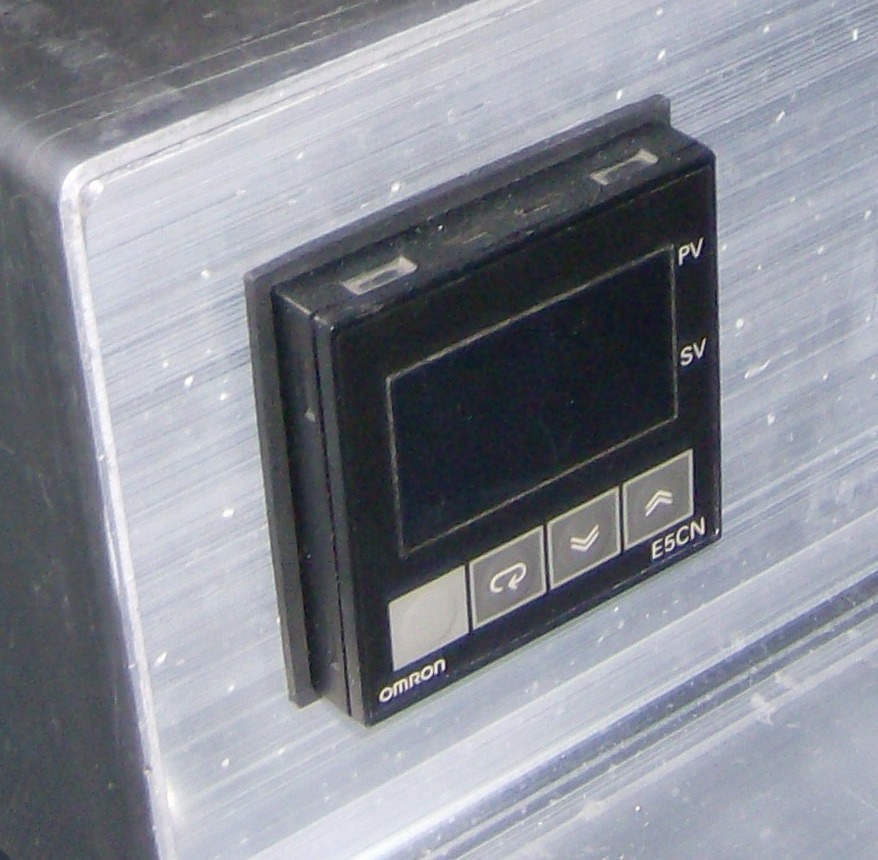
These brewing rigs have pumps that circulate the wort from the mash tun, through a heating device and then back to the tun. The heater is usually either an electric heater, coils immersed in water or a propane burner. The budget conscious brewer can control the wort temperature by manually adjusting the heater. The epitome of automation, however, is a rig that saves effort and adds precision with a PID controller (Proportional Integral Derivative).
If you’re thinking about taking the next step and automating your manually controlled rig, then you’ll want to know how to get the most use out of your shiny new PID controller box. Unfortunately (and despite what some present-day equipment makers would have you believe) PID tuning is an art, not a science.
Exactly how does changing the amount of P, I or D affect your system? Luckily, you don’t need to be a rocket scientist to understand the theory behind PID and, much more importantly, make that knowledge work in your home brewery.

Words to Live By
But first, what exactly is PID? Short for Proportional-Integral-Derivative, this term describes the algorithms which the temperature controller uses. To accurately describe the way PID works, we need to be familiar with the following terms:
Process Variable: The aspect of the process to be monitored and controlled at a certain value. Also referred to as the process. For this article, the process is your wort’s temperature.
Set Point: The desired value of the process; also called set. Here the set is your wort’s target temperature.
Error: The difference between the process value and the set point.
Final Control Element: The device that the controller will manipulate to raise or lower the process value. In other words, the heater or the solenoid valve in your rig.
Output: The signal from the controller to the final control element.
According to these terms, the automatic controller (your shiny new box) measures the process value (the wort’s temperature), compares it to the set (the target temperature), determines the amount of change required and administers it to the final control element (turns the heat on or closes the bypass solenoid valve).
Now, for ideal automated control in home brewing, you want the process to ramp up and slowly settle in at the set without overshooting and overheating the wort. Controllers tuned to achieve this are said to be critically damped. If you’re interested in the technical aspect of how that happens, read on. If you just want the practical advice, skip ahead to “Putting It All Into Practice.”
A Brief History of Automation
Equipment to perform automatic controls of chemical processes came into use shortly before World War II. The industry soon developed its own argot of acronyms to describe the equipment and its actions. The order of P, I and D reflects successive waves of innovation to these controllers.
Gimme a “P”
One of the earliest terms was proportional band. Abbreviated to PB, it makes up the “P” in PID. Loosely defined, PB means the amount the output of the controller would change to counteract a change of the process. Expressed as a percentage, a 100% PB equals a gain of 1.00. A smaller PB means greater reaction to change, so PB’s actions are counter-intuitive. Gain — defined as output change over input change — is now the preferred term.
Pure “P” control action, referred to as P-only, is the simplest and most easily implemented mode. Most early controllers were P-only. One example of P-only control is a basic off/on control system. An electric hot water heater works by P-only, off/on. When the temperature drops below the setting on the thermostat (the controller), the heater turns on until the water temperature exceeds the setting and the heater turns off. Thus, the temperature cycles above and below — but never exactly on — the set.
Gimme an “I”
P-only control will hold the process within a narrow range, but never exactly on the set. Some old operators found that if they reset the set after the controller had settled out, they could get the temperature exactly where it was needed. This “re-setting” led to the term reset. This was the next refinement developed for automatic controllers — integral control, the “I” in PID. Integral control keeps track of the error (the difference between process and set) and compensates by tweaking the output.
Imagine that you are driving a car at 45 mph. As long as you are on a level road, your speed will stay constant. But if you start up a hill without moving your foot (the controller), your car will slow down on the ascent and speed up on the descent. In control theory, that hill is a load change — a disturbance in the conditions under which your process operates. The resulting change in speed is called a droop. Integral control compensates for the droop in P-only controls by keeping track of the change in output when the disturbance first occurred and “integrating the error” into the controller’s tuning values. If the hill is sustained, your foot presses constantly harder, adding additional output to bring the speed back to 45 mph.
The integral action will eventually get the process to the set value. However, if the process decides to perversely change in the opposite direction to the previous changes (you go down the hill), the amount of integral action that was affecting the output must be cancelled out before it can be re-set in the right direction. This adverse effect is called wind-up. Slow processes such as temperature control are most always adversely affected by integral action. Integral action causes overshoot and too much integral will cause oscillation.
Gimme a “D”
Early PI controllers would eventually conquer wind-up. But in order to speed up the compensation and keep the process as close to its set value as possible, engineers came up with one final improvement: a control mode that would pre-adjust to load changes.
Let’s go back to our car example. You are driving at 45 mph on a level road, but you see a hill coming. You press the accelerator down so that you speed up before reaching the hill; you compensate so exactly that when you crest the hill, you are again going 45 mph. In other words, you anticipated a situation that would change your car’s speed and you pre-adjusted to it.
Since the way you adjusted was a function of time and the rate at which the slope of the hill changed,
your adjustment was a derivative — the “D” of PID.
Putting it All Into Practice
When you are ready to tune your PID controller, be sure that your rig is functioning correctly. If it is, this method will result in good PID tuning.
Make sure you have paper and a pencil at hand, plus a calculator if you’re bad at math, and note your settings for future brewing reference.
Load up your system with water. Set the gain at around 15% of the maximum available. Disable the “I” and “D” parts of your controller. Consult the manufacturer’s instructions for your PID controller; if the way to disable “I” and “D” is not clear, then set them to the highest number of seconds. Some controllers have a cycle rate setting. If yours does, set it to 1 minute.
Turn on the pump and start circulating. Put your controller in auto and rapidly raise the set 10 degrees from its current level. Watch the response. If you are using RIMS, the heater should have turned on. If you are using HERMS, the output should have changed the bypass solenoid valve to direct water through the HERMS coil. If it did not do this, the action is reversed. On some units, this is changed by using a positive or negative gain. On other units, there is direction setting. Whichever you have, change it so that heat is added when the set is raised. If the action was correct, did the temperature exceed the set when the temperature stabilized? If not, then double the gain value, cycle the controller to manual then back to auto and try the 10 degree raise again. If it exceeded the set temperature, then halve the gain value, briefly cycle the controller to manual then back to auto and make another 10-degree increase in set. Did the temperature exceed the set? If not, double the gain value. If it did, halve the last gain increase. Repeat this procedure until the temperature exceeds the set by two degrees. The idea here is to slowly increase gain until the response tends to overshoot the set by an amount that you are uncomfortable with.
Now, reduce the gain by half the amount of the last increase. Put the “I” and “D” settings at about 20 minutes. The resulting gain, I and D will be very close. As you brew future batches, gradually tweak the gain up until the overshoot at your final mash temperature is at a level you can tolerate.
My temperature sensor is about halfway down the grain bed. If you are measuring wort liquid in the line, then you will find that a higher setting is necessary to achieve a specific grain temperature. Remember the “Ole Tuner’s” mantra: Gain is good; integral is evil.
A Final Word
Don’t expect the settings for your brewing buddy’s Super Whiz-Bang Temp-o-Matic to work with the same settings as your Maxi-Troll 9000, and vice versa. Each rig has different responses and time constants, so take with a large dose of salt any recommendations made by your equipment junkie friend based on how his system performed. Be very suspicious of settings that have large doses of “I” and “D” and small doses of “P”. After all, isn’t fine-tuning your personal brewing process a large part of the fun
of homebrewing?


