Your First Homebrew Draft Beer
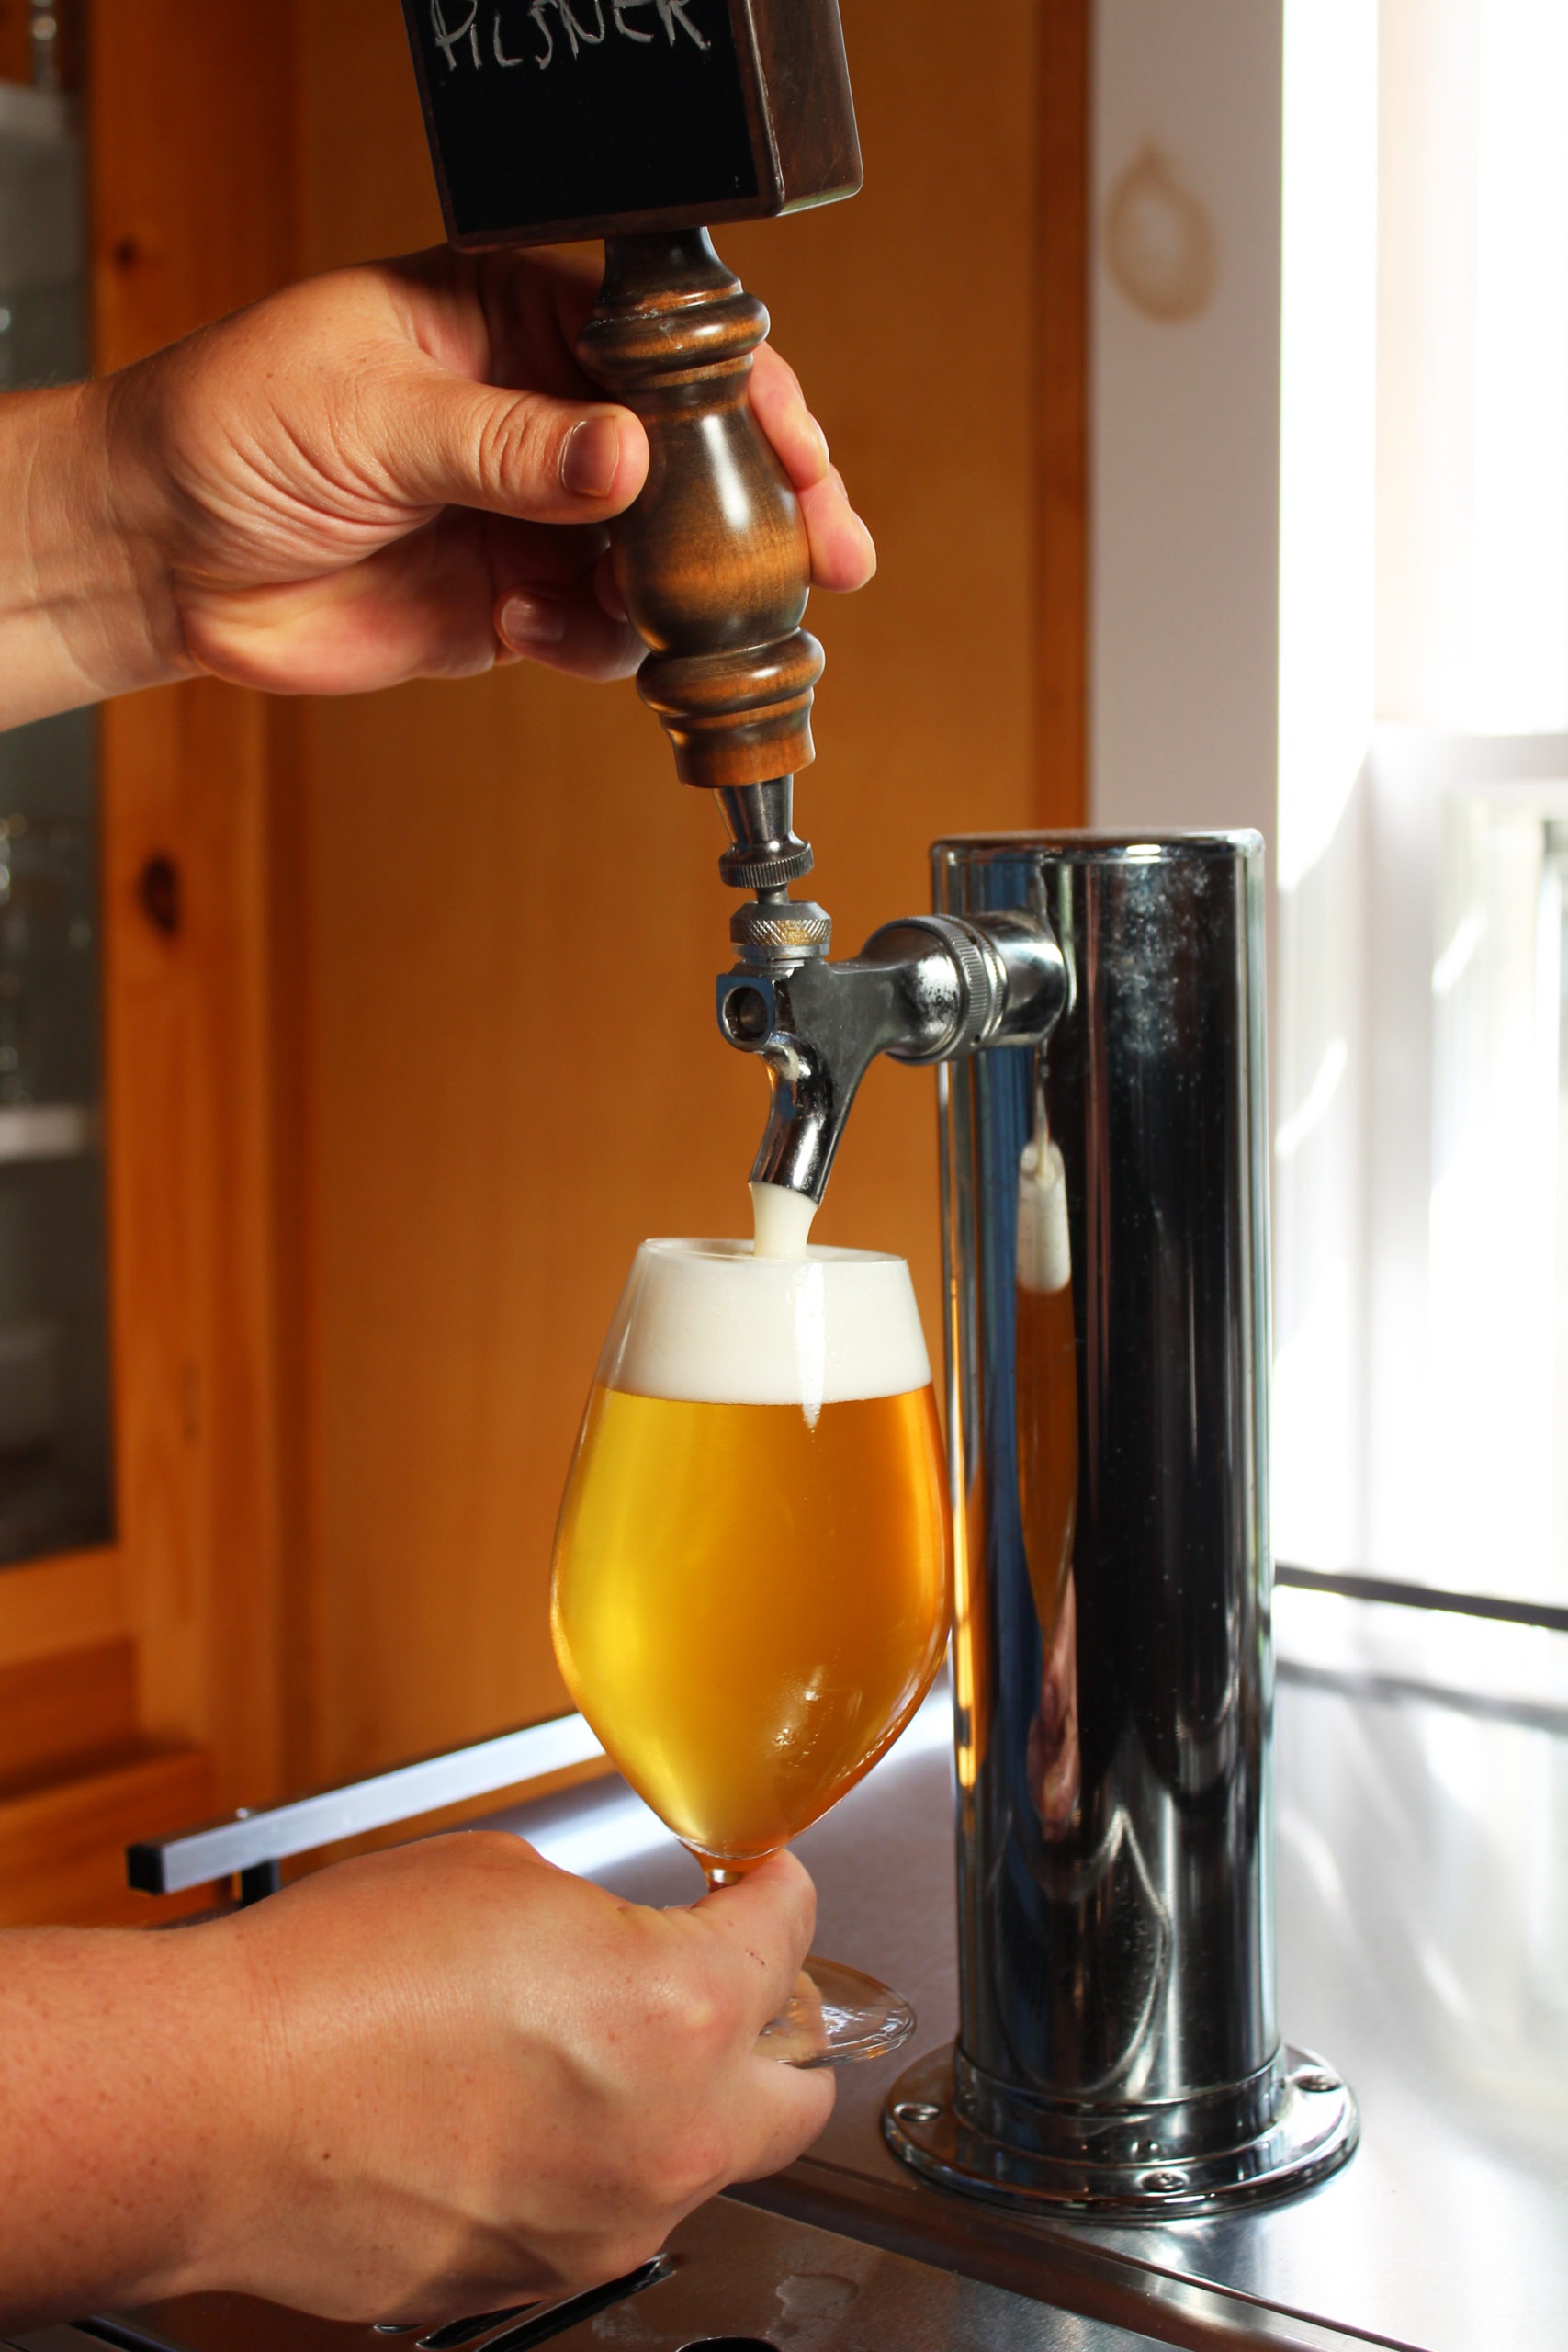
Pouring draft beer at home has clear advantages, but the money investment, space considerations, and techniques to do it well provide hurdles to some. The goal here is to make an easy and affordable path to kegging success so that your first home draft beer experience will be as enjoyable as any that follow it.
There are a few items that are necessary to obtain prior to your first home draft pour.
Keg Selection
Homebrewers have long enjoyed the amazing capacity that Corny kegs offer. Their ability to tolerate pressure that even Champagne bottles of sparkling wine seldom see, the Corny keg is up to the challenge for most anything homebrewers throw at them. They can serve as fermentation vessels, bright tanks (vessels for pressurizing beer), or serving tanks. While there are other options outside the Corny keg for serving beer on draft, we’re going to focus on them because of their proliferation in the homebrew world.
The first decision is whether you want to invest in the pin-lock or ball-lock style of Corny kegs. Costs and availability may make the decision for you. Each has its own set of hardware and are not easily interchangeable. Threaded components (discussed more later) allow a certain level of interchangeability, but not something standard homebrewers care to do on a keg-to-keg level. Choosing one or the other is a wise decision before you jump in. Neither offer advantages, although most modern Corny kegs being produced for the marketplace are for ball-lock style kegs.

Corny kegs also come in a wide array of sizes, starting as small as ½-gallon (1.9 L) to up to 10 gallon (38 L), while the 3-gallon (11.5-L) and 5-gallon (19-L) are the most commonly found. What size you choose depends on your desired use, typical batch size, and/or space restrictions.
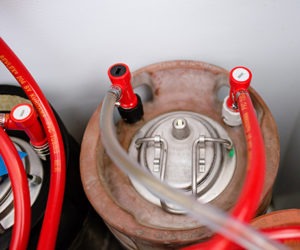
Once you have your keg(s), get a wrench and disassemble the poppets (gas-in and liquid-out posts). Give everything a good soak in PBW (or OxiClean) followed by a sanitizing step with something like StarSan. Also, give the outside a good scrub down.
CO2 Tank & Regulator
While forced carbonation is not necessary, the ability to push the beer for serving will require an outside supply of CO2. Also, purging kegs with CO2 prior to filling them with beer is a recommended task and is most easily accomplished with an outside source of CO2. Local homebrew shops and gas supply stores are two places to start your journey. The most popular tank here in the U.S. is the 5-lb. tank. Before hooking into your system, always open a tank’s valve a crack to blow out any dust or particulate in the mouth of the tank.
Obtaining a CO2 regulator specific to carbon dioxide delivery is the next piece of equipment to look into. These can be fairly simple with just one body and one gauge to control the flow of gas, to more complex multiple bodies, each controlling kegs at varying pressures and each with their own gauge. Starting with a single body to control one or two kegs (with a t-splitter) along with a dual gauge is great starting place. These can be modified with new bodies further down the road if varying pressures are desired. Also, don’t go cheap here. This is a piece of equipment that is best to get a quality one. Just be sure to always store the tank and regulator upright and in a secure spot. If liquid CO2 gets into the regulator, it can ruin it.
Faucet and Components
Picnic faucets are a great way to dispense your homebrewed beer at the start. Even if you plan on building your own bar with stainless steel faucets, having picnic faucets on hand is never a bad thing. They’re cheap, easy to maintain, and perfect for whenever you may want to take some kegs on the go. Treat them well and they will last a lifetime.
While there are many options available, vinyl hosing is cost-effective, easy to work with, and ideal for getting your draft system off the ground (you can easily upgrade later too). I utilize 1⁄4-in. vinyl hosing on the gas side and 3⁄16-in. hosing on the liquid side. Also, I like to use clear hosing so that I can always see exactly what’s going on inside. You will also need disconnects for both the gas-in post and liquid-out post. These are specific to whether you have purchased ball-lock or pin-lock kegs. I greatly prefer the threaded disconnects over barbed ones because of their quick-change capacity, but barbed work fine in parts of a draft system where little to no changes occur (such as my seltzer keg).
Now that you have all the pieces, it’s time to put them together. Hot water should be utilized to get hosing onto barbs since hosing will often be snug and may even be 1⁄16-in. smaller in diameter vs. barb size to preclude leaks.
Balancing Act
Most homebrewers serve their beers at roughly 2.5 volumes of carbonation (use an online carbonation chart to find corresponding regulated pressure). The length of your liquid-side hose is very important. Using vinyl tubing and a picnic faucet requires roughly 6 feet (~1.8 m) but this is highly dependent on what carbonation level you desire, temperature of the beer, hose diameter and type, and if there is any vertical distance between the keg and where it’s being served. Utilize a draft hose length calculator online to find your ideal length before cutting.