DIY Keg Beer Level Management System
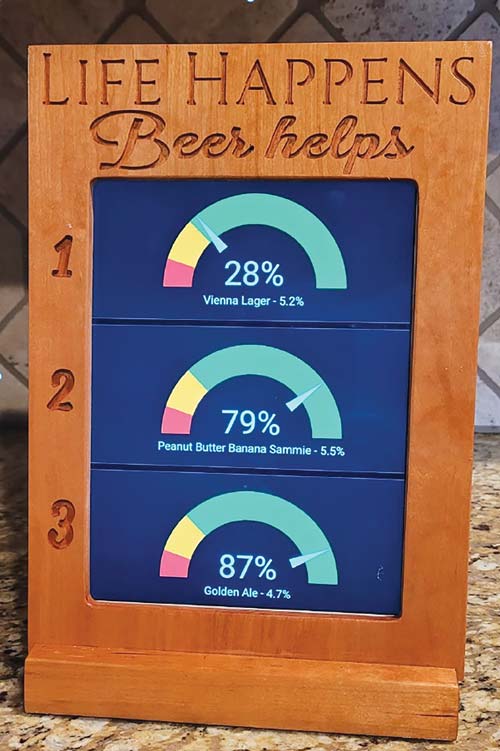
Heads-Up Display

Keg management is an important tool in any kegging brewer’s arsenal. Being able to keep track of keg levels is vital to brew scheduling and not being surprised at your summer BBQ when the keg kicks unexpectedly. Until recently, I’ve been using the method of when you pull the tap handle and beer comes out, that means there’s still beer in the keg. When no beer comes out, the keg is empty.
There is a small variety of DIY and commercially available systems out there. In-line flow meters, the ol’ ball and magnet thing, pull the keg out to room temperature and let it sit for a few minutes until it sweats at the level line. The one I liked the most is the Plaato system that came out not too long ago. I really like the idea of the Plaato system because it uses a scale to very closely approximate the remaining beer in the keg. I just couldn’t pull the trigger on the $130 per scale price tag, and I need three, so I found that be a little cost prohibitive. After some more research, I ran across a YouTube video of a guy who made a scale out of a piece of plywood and some electronics on the cheap. Not just a little cheap. I mean cheap, cheap. I was intrigued . . .
Some more internet research and I found someone else who used the same materials, but upped the game by 3-D printing a housing and added LEDs to it. My only problem with his design is that the diameter was wider than a corny keg and definitely too wide for my 3-D printer. I have a standard-sized kegerator and the kegs fit in there snugly as it is. So, it was high time to design my own. I used Google SketchUp to bring this to life.
I was able to design a scale that was the exact diameter of a corny keg and only lifted it about an inch (2.5 cm) off the bottom of the kegerator.
I was able to design a scale that was the exact diameter of a corny keg and only lifted it about an inch (2.5 cm)off the bottom of the kegerator. It’s a little tighter up top, but not impossible to connect gas and liquid lines.
After the design was finalized and the proof of concept was there, I decided to go for it. The price point was right for me too. At less than $10 per scale for the boards, Home Assistant being free and open sourced, add-ons not costing a cent, plus I had some USB cables in the infamous box of extra cables . . . it was worth a shot to see if I could do it.
This scale can be used in kegerators, keezers, fridges, and it doesn’t have to stop at kegs. You can even use it to monitor CO2 tank levels or anything up to 110 lbs. (50 kg) that will fit on the scale.
This project is going to be relatively easy if you have experience with Home Assistant, are an avid tinkerer, or are just a good old-fashioned tech nerd like me.
Links:
- Home Assistant: https://www.home-assistant.io/
- ESPHome: https://esphome.io/index.html
- Scale print: https://www.thingiverse.com/thing:6007574
- HX711: found on www.amazon.com
- ESP3266: found on www.amazon.com
Tools and Materials
- 3-D printer (with minimum 235 mm x 235 mm build plate)
- Printer filament (172 meters / 511 g per scale)
- (4) M4 x 0.7 x 12 mm screws
- M4 x 0.7 tap
- HX711 load cell amplifier (with four load cells)
- ESP8266 (USB-C)
- USB to USB-C cable
- USB power brick
- Soldering iron
- A computer running Home Assistant


