Serving Cask-Conditioned Ale
An easy to follow guide to getting your homebrew served on cask.
For a more in-depth look at the whys and whats of serving cask-conditioned beers, see the full article here

Step 1. Keystone Bung
Seat the keystone bung all the way.

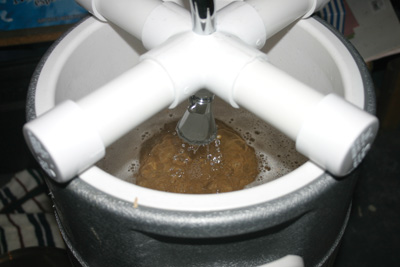
Step 2. Filling the Cask
Rack into the cask as you would with any keg. Note that I’m filling through the keystone bunghole, although the recommended approach is to fill through the shive bunghole.


Step 3. Filled Cask
Pin all sealed up and labeled, ready to condition in a room temperature location.
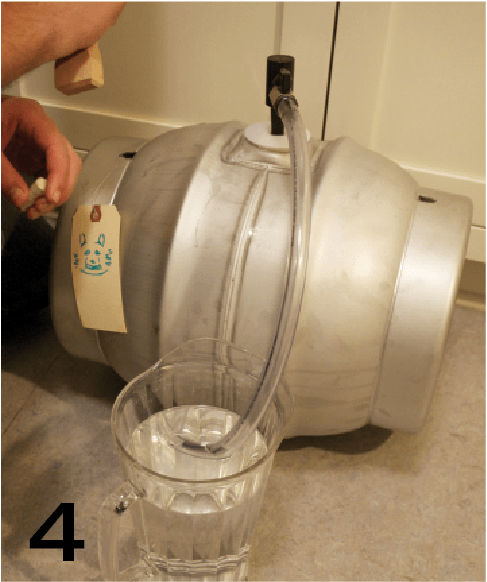
Step 4. Venting the Cask
A venting tool with blow-off hose ensures any gushing does not end up on the ceiling.

Step 5. Cask with Chocks and Cooling Towels
The homemade wooden chocks are positioned two in the front and one at the back. Placing all three on a single towel prevents them from slipping out of place.

Step 6. Ready to Tap
Before tapping be sure to sanitize the keystone and tap. Pull out the spile from the top as well.
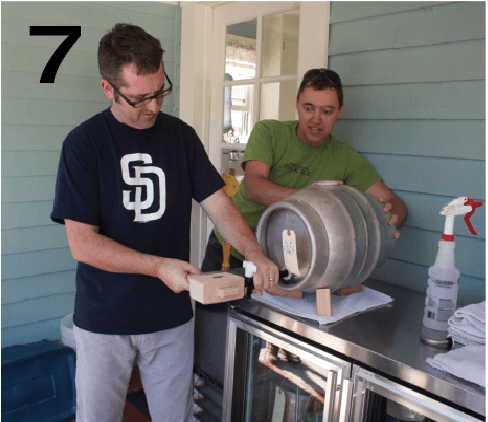
Step 7. Tapping
Here is the birthday boy lining up to drive the tap through the keystone. Note the large wooden mallet; this is the style I recommend.

Step 8. Tapped
Turndown spout attached and ready to pour. Cheers!