Hop Stands
While the buzz around hop stands mainly revolves around highly hopped beers, there is a lot more to this technique than just trying to crank your DIPA up to an 11. (I will be calling this technique whirlpool hopping, but keep in mind that homebrewers don’t need to keep their wort constantly swirling in the kettle for this technique to work.)
The What and Why
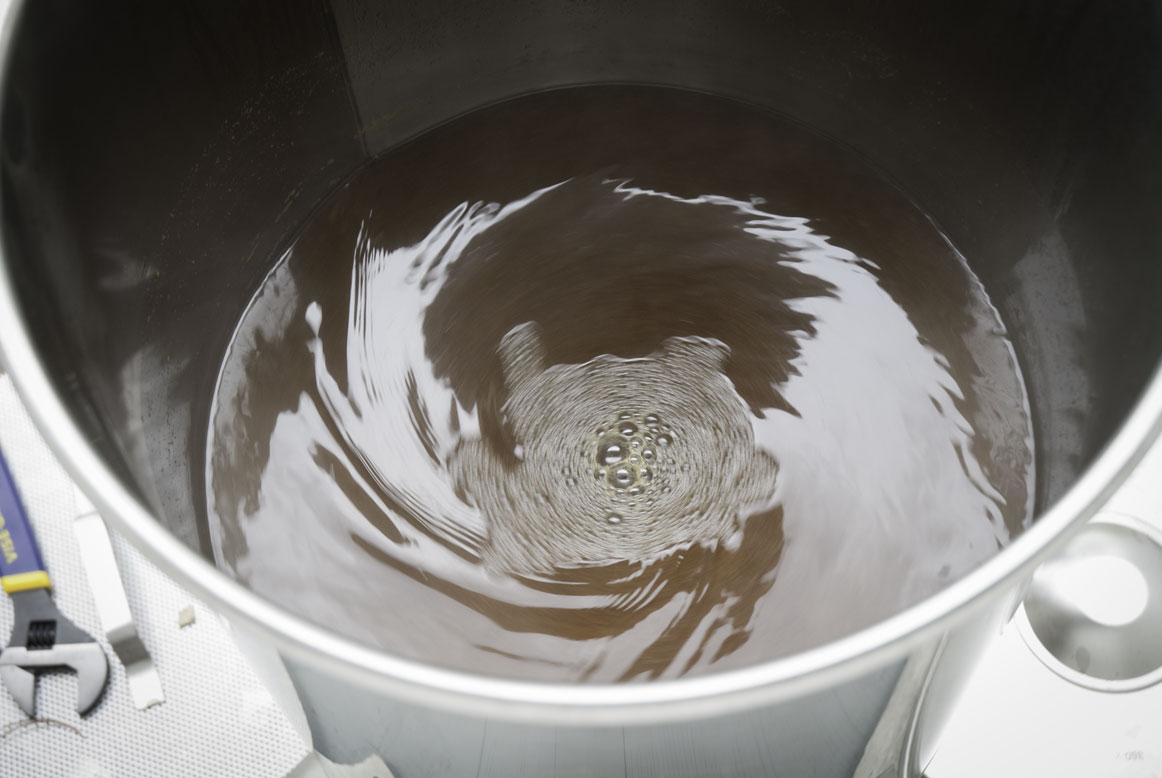
A hop stand is simply allowing the boiled wort an extended contact period with the flameout hops prior to chilling the wort. Pro brewers typically create a whirlpool either in their kettle or in a separate whirlpool vessel with the hot wort and the ensuing vortex creates a cone shaped pile in the center of the vessel made up of the unwanted trub and left over hop material. Whether on purpose or inadvertently, pro brewers were giving their flameout hops extended contact time with the wort. This allows the hops added at flameout a period to release their essential oils into the wort, while minimizing the vaporization of these essential oils. In essence, adding a kick of hop flavor and aroma while also adding what can best be described as a smooth bitterness. In short, whirlpool hopping can add significantly to the hop flavor and aroma of beer.
Hop’s Essential Oils
The essential oils found in hops are volatile and provide beer with the hop flavor and aroma hop aficionados enjoy. While there are hundreds of essential oil components, for practical purposes brewers tend to focus on 4-8 main essential oils that play vital roles in providing hop varietal characteristics. One important characteristic is the essential oil’s flashpoint, or the temperature at which the essential oil is actively vaporizing to the point where it could ignite if sufficient vapors were present. At wort boiling temperatures, all hop essential oils have surpassed their flashpoints, so a vigorous boil will drive them off fairly quickly. The best way to think about the driving off process is in terms of half lives. The lower the flashpoint, the faster the oil vaporizes and the faster the half life. The longer the hops are boiled and the lower the flashpoint, the less the essential oil will impact the beer. In effect, whirlpool hopping removes the rolling boil (for the whirlpool hops), lowering the temperature of the wort and therefore reducing the vaporization rate of the essential oils, allowing the essential oils to really “soak in” to the wort. The specifics of the “soak in” process is still very much a gray area but the general idea is that essential oils will be retained in the beer longer and enhance the hop flavor and aroma of the finished beer.
Alpha Acid Isomerization
Alpha acids will continue to isomerize after flameout until the temperature of the wort reaches about 175 °F (79 °C). Homebrewers trying to calculate a beer’s IBUs will need to guesstimate how much isomerization is occurring. The closer the wort is to 212 °F (100 °C) the higher the alpha acid isomerization rate. To do this, we can look to professional brewers for some guidelines. Ultimately, however, the thermal capacity of a professional 60bbl whirlpool vessel is quite different than 5 gallons (19 L) of homebrew, so the comparisons can only be rough guidelines at best.
Matt Brynildson of Firestone Walker Brewing Company says, “The fact that there is some isomerization (about 15% in whirlpool versus 35% in the kettle) of alpha acid means that not only hop aroma and hop flavor can be achieved, but also some bittering.” For Pelican Pub & Brewery’s Kiwanda Cream Ale, brewmaster Darron Welch adds the beer’s only hop addition at flameout. Welch gets about 25 IBUs from adding roughly 0.75 lbs./bbl (0.34 kg/bbl) of Mt. Hood hops at flameout then allowing a 30 minute whirlpool stage. This means that Darron is getting roughly 16% utilization on his 15 bbl system for a 1.049 specific gravity wort. As mentioned, in a homebrewers hop stand, the 5-gallon (19-L) kettle is going to cool much faster and therefore create lower utilization rates. Brad Smith, creator of the BeerSmith brewing calculator, gives this advice to homebrewers, “Something in the 10% range is not a bad estimate if hops are added near boiling and left in during the cool-down period.” From my own experience with extended hop stands in 11-gallon (42-L) batches, a 10% utilization rate for whirlpool hops seems reasonable.
The When and How
While hop forward beers can benefit from this technique, any beer where some hop nose is desired is also a good candidate. For low IBU beers, you can add no-boil hops or you can add a tiny bittering charge of hops to help break surface tension of the beer and then add all or the majority of the IBU contribution at knockout, with the 10–15% utilization in mind.
If your brewing system has a pump, you may opt to setup a tangential inlet for your kettle to allow the pump to perform the whirlpool for you. Keep in mind that you do not need a vigorous whirlpool; just a simple spinning of the wort. If you do not have a pump, a simple spoon or paddle will work to achieve the same results.
The second factor to consider is the length of your hop stand. There are no right or wrong answers, but anywhere from 10 minutes to 90 minutes — or even an overnight stand — can be employed. For most super-charged, hop-forward beers, my hop stands will run 45 to 60 minutes. For a mid-range hop profile like an American pale ale or a beer I am looking to get a significant IBU contribution from, I will usually shorten that stand to 30 minutes. If the beer is not to be hop forward nor do I need significant IBU from the hop stand, then 10–15 minute hop stand usually will suffices.
Three temperature profiles that seem to be popular among homebrewers are just off boil range 190–212 °F (88–100 °C), the sub-isomerization range 160–170 °F (71–77 °C), and a tepid hop stand range 140–150 °F (60–66 °C). The 190–212 °F (88–100 °C) range will allow essential oils with higher flashpoints an easier time to solubulize into the wort and also will allow some alpha acid isomerization to occur with the best estimates of between 5–15% utilization. Some homebrewers will keep their kettle burner on low to keep the temperature of the wort elevated above 200 °F (93 °C) during their extended hop stands which would better emulate the conditions in commercial whirlpools. A hop stand in the 160–170 °F (71–77 °C) range will basically shut down the alpha acid isomerization reaction and the lower temperatures will reduce the vaporization of the essential oils. Homebrewers can use their wort chillers to bring the wort down to this range before adding the knockout hops or they can add a second dose of knockout hops. The 140–150 °F (60–66 °C) range will once again reduce vaporization of the low flashpoint oils, but may take longer to get the same amount of essential oils extracted.
I have never had dimethyl sulfide (DMS) issues with any of the beers I have performed a hop stand on and have always left the lid on. If using a Pilsner malt or other DMS-prone, lightly-kilned base malt, you may want to increase your boil time to 90 minutes.
Dry Hop Considerations
Another factor to consider is how to handle dry hopping your hop-forward beers if you employ an extended hop stand. Rock Bottom Restaurant & Brewery performed an extensive study on hop stands and dry hopping under the guidance of the Portland, Oregon brewmaster at the time Van Havig, (now of Gigantic Brewing Co., Portland, Oregon). The study was published by the Master Brewers Association of the Americas Technical Quarterly and considered beers that were hopped in four different ways, short hop stand (50 minutes) and no dry hops, long hop stand (80 minutes) and no dry hops, no hop stand and just dry hops and finally half the hops in hop stand (80 minutes) and half the hops for dry hopping. Beers produced using exclusively hop stands and the beers produced using exclusively dry hops will both result in well-developed hop characteristics, but there were some nuances. The long hop stand developed more hop flavor and aroma than the short hop stand indicating that essential oils were still soaking into the wort after 50 minutes. The exclusively dry hopped beer received its best marks in the aroma department, higher than the hop stand beers, but scored lower for its hop flavor. The beers where only half of the hops were added for the hop stand and half were added for aroma ended up scoring high in both departments. Havig’s study also showed that adding 1 lb./bbl (0.45 kg/bbl) Amarillo® dry hops produced the same amount of hop aroma as ½ lb./bbl (0.23 kg/bbl), indicating diminishing returns at higher dry hop rates.
So if you are just giving this technique a try, here is what I would suggest based on the study’s findings. Take all the hops you plan to add for late addition hops and dry hops and cut them in half. Add half at knockout and the second half as a dry hop addition. Again, don’t feel the need to go overboard with these additions.
If you are interested in using this technique in your brewhouse, I have included three recipes I have used with great success to craft some of the best beers that have graced my kegerator. I assumed 10% hop utilization rates for the hops added for the hop stand. My next test will be of an extended spice stand . . . if it works for hops, why not my next winter warmer? Happy Brewing!
Recipes
Over the Topper DIPA
(5 gallons/19 L, all-grain)
OG = 1.074 (18.5 °P) FG = 1.012 (3 °P)
IBU = 100+ SRM = 6 ABV = 8%
This is my attempt to clone one of my favorite double IPAs coming out my home state of Vermont, Heady Topper from The Alchemist Brewery.
Ingredients
13 lbs. (6.8 kg) British pale ale malt
4.0 oz. (113 g) Caravienne®
malt
1.0 lb. (0.45 kg) sucrose
19.5 AAU Simcoe® hops (30 min) (1.5 oz./42 g at 13% alpha acids)
5.75 AAU Cascade hops (knockout) (1.0 oz./28 g at 5.75% alpha acids)
17.2 AAU Apollo hops (knockout) (1.0 oz./28 g at 17.2% alpha acids)
13 AAU Simcoe® hops (knockout) (1.0 oz./28 g at 13% alpha acids)
10.5 AAU Centennial hops (30 min into hop stand) (1 oz./28 g at 10.5% alpha acids)
13 AAU Simcoe® hops (30 min into hop stand) (1 oz./28 g at 13% alpha acids)
14 AAU Columbus hops (30 min into hop stand) (1 oz./28 g at 14% alpha acids)
1.0 oz. (28 g) Chinook hops (primary dry hop)
1.0 oz. (28 g) Citra® hops (primary dry hop)
1.0 oz. (28 g) Simcoe® hops (primary dry hop)
1.25 oz. (35 g) Centennial hops (secondary dry hop)
1.25 oz. (35 g) Simcoe® hops (secondary dry hop)
White Labs WLP001 (California Ale) or Wyeast 1056 (American Ale) yeast (1.5 qt./~1.5 L yeast starter) or Lallemand BRY 097 or Fermentis Safale US-05 yeast (1 sachet)
3/4 cup corn sugar (if priming)
Step by Step
Mash at 155 °F (68 °C) for 40 minutes. Sparge enough to collect roughly 7.5 gallons (28 L) in your kettle to achieve 6.5 gallons (25 L) at knockout. Boil for a grand total of 75 minutes. Just after knockout toss in the first set of knockout hops and begin the whirlpool process. You can either run your pump for 10 minutes or you can stir for a minute and then let spin down and settle. After 30 minutes have gone past after knockout, reduce wort temperature to 170 °F (77 °C) and then add the second set of hops to the hop stand and once again whirlpool. After 15 more minutes have passed, begin final cooling process. The goal is to get at least 5.5 gallons (21 L) into your fermenter to compensate for the loss of wort which will occur during dry hopping. Make sure your primary fermenter has enough headspace to accommodate that much wort plus a large kräusen. Pitch a healthy dose of yeast when wort hits 65 °F (18 °C). After final gravity has been achieved, add a clarifying agent such as polyclar. Allow three days for clarifying agent to work, then add first set of dry hops to primary fermenter. After 7 days, rack beer off dry hops & yeast cake either into a keg or secondary fermenter. Try to purge with carbon dioxide if available to you. Add second round of dry hops and wait 5 days. Bottle or begin carbonation process.
Over the Topper DIPA
(5 gallons/19 L, extract with grains)
OG = 1.074 (18.5 °P)
FG = 1.012 (3 °P)
IBU = 100+ SRM = 6 ABV = 8%
Ingredients
11.25 lbs (5.1 kg). pale/gold liquid malt extract
4.0 oz. (113 g) Caravienne®
malt
1.0 lb. (0.45 kg) sucrose
19.5 AAU Simcoe® hops (30 min) (1.5 oz./42 g at 13% alpha acids)
5.75 AAU Cascade hops (knockout) (1.0 oz./28 g at 5.75% alpha acids)
17.2 AAU Apollo hops (knockout) (1.0 oz./28 g at 17.2% alpha acids)
13 AAU Simcoe® hops (knockout) (1.0 oz./28 g at 13% alpha acids)
10.5 AAU Centennial hops (30 min into hop stand) (1 oz./28 g at 10.5% alpha acids)
13 AAU Simcoe® hops (30 min into hop stand) (1 oz./28 g at 5.75% alpha acids)
14 AAU Columbus hops (30 min into hop stand) (1 oz./28 g at 14% alpha acids)
1.0 oz. (28 g) Chinook hops (primary dry hop)
1.0 oz. (28 g) Citra® hops (primary dry hop)
1.0 oz. (28 g) Simcoe® hops (primary dry hop)
1.25 oz. (35 g) Centennial hops (secondary dry hop)
1.25 oz. (35 g) Simcoe® hops (secondary dry hop)
1.5 L starter with White Labs WLP001 (California Ale) or Wyeast 1056 (American Ale), or use 1 sachet of either Lallemand BRY 097, or Fermentis Safale US-05
3/4 cup corn sugar (if priming)
Step by Step
Place crushed grains in a small steeping bag and steep in 3.0 gallons (11 L) until temperature reaches 170 °F (77 °C). Boil for a grand total of 60 minutes. Just after knockout toss in the first set of knockout hops and begin the whirlpool process. You can either run your pump for 10 minutes or you can stir for a minute and then let spin down and settle. After 30 minutes have gone past after knockout, reduce wort temperature to 170 °F (77 °C) and then add the second set of hops to the hop stand and once again whirlpool. After 15 more minutes have passed, begin final cooling process. Top off to at least 5.5 gallons (21 L) in your fermenter to compensate for the loss of wort which will occur during dry hopping. Make sure your primary fermenter has enough headspace to accommodate a large kräusen. Follow the all-grain instructions for fermentation and beyond.
Longmont Pale Ale
(5 gallons/19 L, all-grain)
OG = 1.066 (16.5 °P) FG = 1.015 (3.6 °P)
IBU = 66 SRM = 12 ABV = 6.6%
This was my attempt to pay homage to the beer that put cans on the craft beer scene, to which I will always be a faithful and loyal admirer to Oskar Blues Brewery and their Dale’s Pale Ale. Now if only I could get my homebrew in a can to take with me skiing, canoeing and bike riding, I would be all set.
Ingredients
12 lbs. (5.4 kg) North American 2-row pale malt
1.0 lb. (0.45 kg) dark Munich malt
0.50 lb. (0.23 kg) Weyermann Caramunich III® malt
6.5 AAU Columbus hops (60 min) (0.5 oz./14 g at 13% alpha acids)
11.5 AAU Cascade hops (knockout)(2 oz./56 g at 5.75% alpha acids)
19.5 AAU Columbus hops (knockout) (1.5 oz./42 g at 13% alpha acids)
2.0 oz. (57 g) Centennial hops (dry hop)
White Labs WLP051 (California V Ale) or Wyeast 1272 (American Ale II) (1 qt./1 L yeast starter) or Lallemand BRY 097 yeast (1 sachet)
Step by Step
Mash in at 152 °F (67 °C) for 40 minutes. Sparge to collect ~6.5 gallons (25 L) in your kettle to achieve 5.5 gallons (21 L) at knockout. Boil for a grand total of 75 minutes. Just after knockout, toss in the knockout hops and begin whirlpool. You can either run your pump for 10 minutes or stir for a minute and then let spin down and settle. After 30 minutes have gone past after knockout, cool the wort down to 65 °F (18 °C) and pitch a healthy dose of yeast into fermenter. After final gravity has been achieved, add clarifying agent such as polyclar. Allow three days for clarifying agent to settle, then add dry hops to primary fermenter. After 7 days, rack beer off dry hops and yeast cake either into a keg or bottle. Try your best to keep oxygen at bay during the racking or bottling process.
Dort the Export
(5 gallons/19 L, all-grain)
OG = 1.057 (14.4°P) FG = 1.012 (3.1°P)
IBU = 30 SRM = 7 ABV = 5.6%
The midwestern part of the United States has become chock-a-block with incredible breweries, but Great Lakes Brewing Company is easily near the top of that list in my opinion. Here was my attempt to re-create their Dortmunder Gold, a true standard in the field.
Ingredients
11 lbs (5.0 kg) North American 2-row malt
0.33 lbs. (0. 15 kg) crystal malt (60 °L)
1.5 AAU Magnum hops (90 min) (0.1 oz./3 g at 14.5% alpha acids)
4.8 AAU Cascade (15 min) (0.83 oz./23 g at 5.75% alpha acids)
8.4 AAU Hallertauer Mittelfreuh (knockout)(1.7 oz./46 g at 5.25% alpha acids)
White Labs WLP830 (German Lager) or Wyeast 2124 (Bohemian Lager) yeast (3 qt./3 L yeast starter) or Saflager S-23 (1 sachet)
Step by Step
Mash in at 152 °F (67 °C) for 40 minutes. Sparge to collect ~6.5 gallons (25 L) in your kettle to achieve 5.25 gallons (20 L) at knockout. Boil for a grand total of 90 minutes. Just after knockout, toss in the knockout hops and begin whirlpool. You can either run your pump for 10 minutes or stir for a minute and then let spin down and settle. After 30 minutes have gone past after knockout, cool the wort down to 45 °F (7.2 °C) and pitch a healthy dose of yeast into fermenter. Keep fermentation temperatures within recommended temperature. After final gravity has been achieved, add clarifying agent such as polyclar. Allow three day for clarifying agent to settle, then either transfer into a keg or bottle. Try your best to keep oxygen at bay during the racking or bottling process.


