7 Ways to Improve Your Kegging
I remember very distinctly the first time I used a soda keg for storing my completed beer. I remember it well because it was one of the best homebrewing choices I have ever made. It literally cut three hours off of my bottling time. I think my exact thought on the matter was, “48 small bottles to clean or one big bottle to clean? I’ll go with the big bottle.”
I have never looked back, either. It just seems like too much work to wash all those little bottles, risk a separate contamination in each one, boil malt, or time the next brew to steal gyle (the wort used to condition finished beer and raise the alcohol content). So now I use soda kegs almost exclusively for my homebrew. Here are some tips on efficient kegging that I’ve picked up over the years.
1. Sanitation
Based on the complaints I hear about using kegs, the root of most major problems is a contamination in the keg. This is most likely due to an inadequate cleaning process. The soda keg has several small orifices, nooks and crannies, and gaskets. They all have to be cleaned and sanitized. The easiest way to do this is to take the keg completely apart and rinse all the parts separately with hot water. If the dispense tube is dirty, push a coat hanger with a string attached down the tube. Then remove the coat hanger, but leave the string behind. Now you can effectively floss the inside of the tube. Rinse occasionally with hot water — spitting is not necessary!

Whatever you do, do not clean with bleach. The pH of bleach is not conducive to keeping the stainless steel intact, and you will almost invariably find corrosion appearing in the welds of the keg if you use bleach. Instead, clean well with hot water and sanitize with iodophor. (You can also use caustic soda, if available, although it is crucial to exercise extreme caution with caustic.) Remove all gaskets and valves from the tubes and lid top, clean them, and boil them or soak them in an iodophor solution.
2. Storage
Once you have cleaned the keg, the easiest way to keep it ready until its next use is to put it back together. Do not rinse the gaskets or valve parts with water after the iodophor soak; leave the iodophor rinse on them. (Another option is to boil these parts. Some brewers avoid iodophor particularly here because it can change the flavor of the beer over time.) When the keg is back together, fill it with an iodophor solution (25 parts per million iodophor). This solution will remain in the keg until the keg is ready for use.
You should also, when filling the keg with the iodophor solution, press the in and out valves on the top of the keg and make sure the iodophor solution flows through them. This ensures that you have sanitizing solution in all parts of the keg. Then fill the keg all the way to the top with iodophor solution (if you have not already), put the lid on, and shake vigorously. This shaking ensures that you have covered the top of the keg (there will always be some air trapped in the keg). Shake again before you empty the iodophor.
3. Portability

While ease of cleaning and sanitizing may be a persuasive argument for kegging, I have heard people complain that kegs are too large to bring to small gatherings. I was never deterred by this, but that may be one reason most of my friends consider me a tad weird:
“Yep, howaya guys doin’? No I just brought one keg over tonight. Don’t worry; we don’t have to finish it. What? No, just use it as a centerpiece on the table. You can drape the hose under the table. That way the CO2 bottle won’t detract from the table setting…”
The point is that the keg can be unwieldy to bring from place to place, but that is no reason not to keg your beer.
Actually, with a few add-ons to your keg system you can have beer ready to go to a dinner party in less than five minutes. All you need are a couple of quart or half-gallon mineral water bottles (preferably the non-flavored variety) and a couple of special filling caps. These caps are available at homebrew-supply stores. Fill the plastic bottle with your favorite beer from your keg, making sure there is no air in the bottle. This is easily accomplished by filling the bottle as full as possible, then giving the bottle a slight squeeze to bring the liquid level right to the top. Put the filling lid on the bottle and hook up the lid to your CO2 canister. Set the pressure for 10 to 18 psi (pounds per square inch) and shake the bottle vigorously for about two minutes. You now have a small amount of beer to take anywhere — although it won’t make such a striking centerpiece. Also, some beer contests will now let you submit beer in this manner.
4. Carbon Dioxide System
What do you do if you find yourself with a soda keg but no CO2 system, which costs much more than the keg itself? You can approach this problem a couple of different ways. If you have two soda kegs and no CO2 system, you can ferment your five-gallon batch down to within 10 points or so (2.5° Plato) of your final gravity in your five-gallon glass carboy. Then pour half the batch into each keg and seal the kegs. The final fermentation will build the carbonation in the beer and the keg.
Filling the soda keg half full creates a gas reservoir, and the beer can be dispensed under carbonation almost to the very end. If you try to fill the whole keg, the beer will be flat very early in its life.
When using this technique you should, as much as possible, keep the kegs from moving, because yeast and trub will be settling in the bottom.
5. Cask Conditioning
Another benefit of using a keg is your ability to create cask-conditioned beers. Here is one way:
Let the fermenting wort run to terminal gravity. Let the fermented product clarify for a week or two. Then add finnings into the fermenter. Let the fermenter stay in the cooling area for another day. This should give you fairly clear beer.
Rack the beer into the keg. Along with the finished beer you need to add a bit of dried malt. To do this, add one to 13/4 cups dried malt (depending on your carbonation preference) to about two cups of water. Boil the resulting syrup for at least two minutes. Pour the syrup into the keg along with the beer.
There should be enough yeast remaining in the finished beer to create carbonation in the keg. Let the keg sit at room temperature for a day and then set the keg in its final resting place, preferably at 55° F.
This setup works best if you start drinking the beer within two days and continue to drink it at a steady rate. The beer is still fermenting so as you remove beer from the keg, the carbonation drops, but the yeast will create a bit more CO2 as the day goes on. As the volume of gas space in the tank increases, the CO2 reservoir becomes larger. If everything works well, you should have enough gas produced to nearly empty your keg. However, if it goes completely flat, you can always open the keg and rejuvenate the beer with more dry malt.
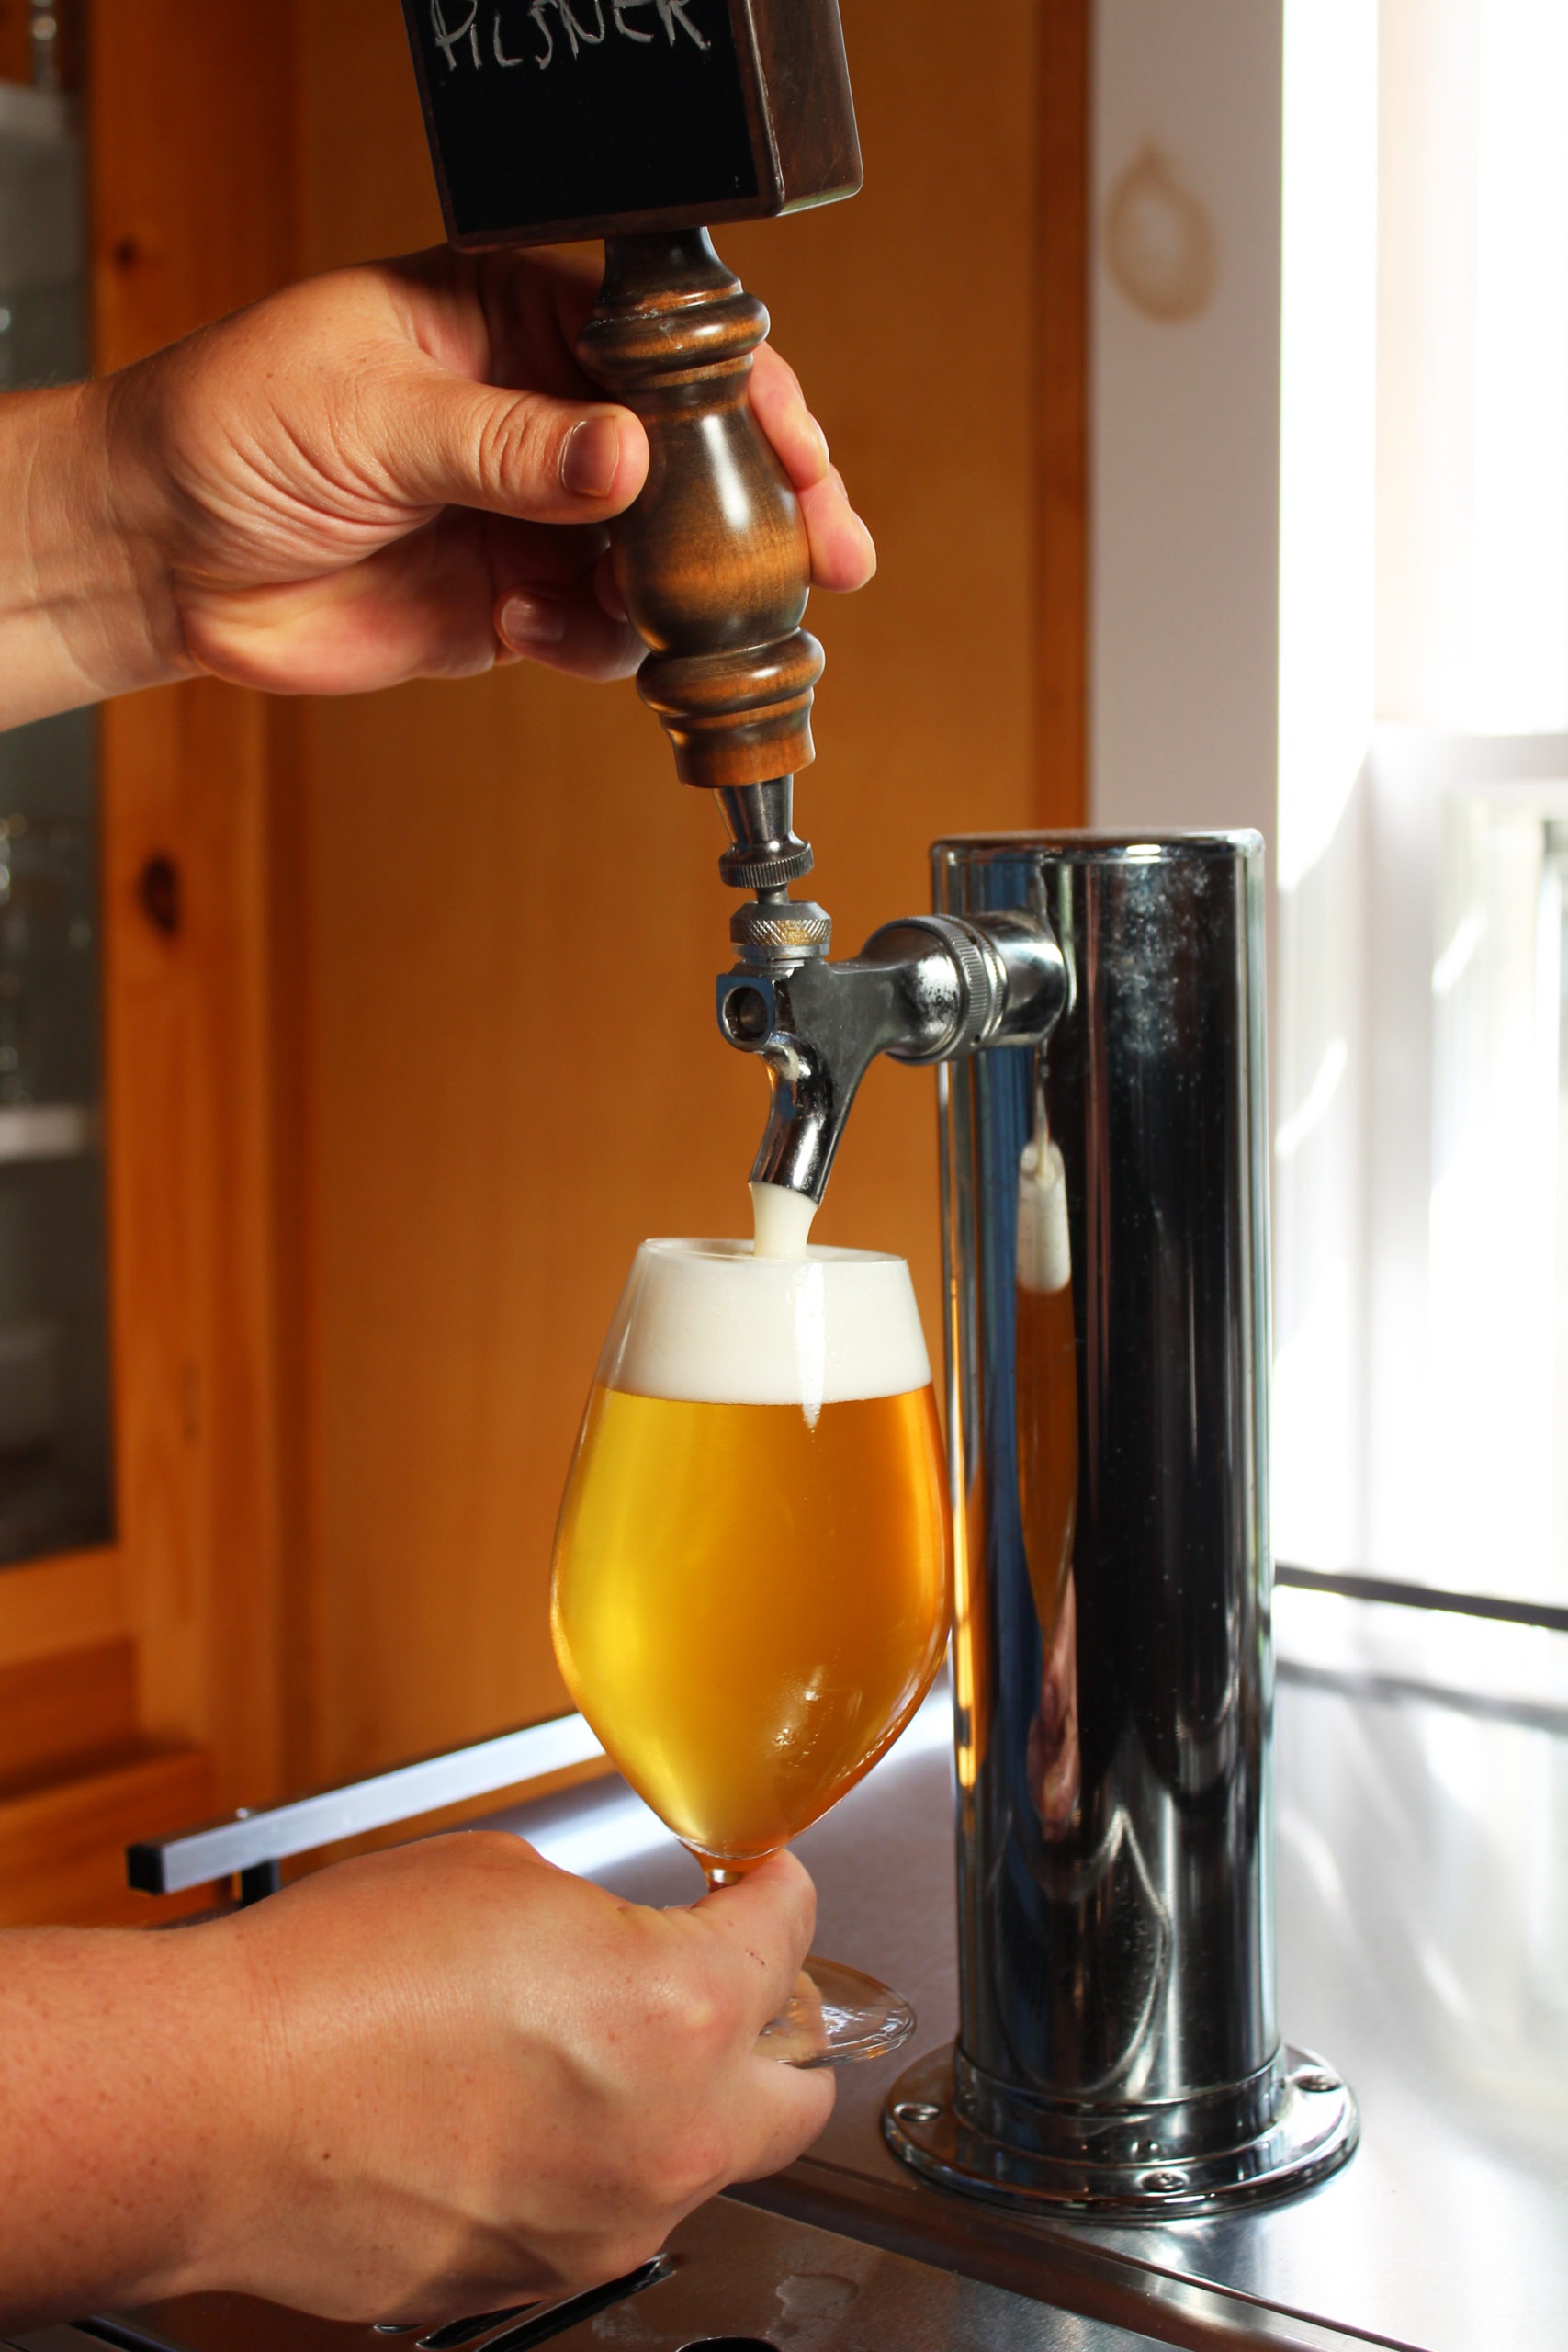
6. Foam and Pressure
The scenario is this: I arrive at a party and attempt to get a glass of the brewer’s finest. What I actually end up getting is something I could shave with. Foam, the scourge of the keg system. Foam is so prevalent for a couple of reasons. The first has to do with CO2 pressure, and the second has to do with the inner diameter of the dispense hose. Both problems are fairly easy to fix.
The carbonation problem is relatively straightforward. Many people carbonate their beer to a certain pressure, say 15 psi, and then try to dispense at this same pressure. This does not work well because of the dispense-hose diameter. Regardless of size, the hose will create some friction as the beer passes through the hose. The smaller the inner diameter of the hose, the more friction is produced on a given volume of beer. This friction effectively drops the pressure of the beer in the line. When the pressure has dropped enough the beer will reach a point where the CO2 will break out of solution and foam.
Putting more pressure on top of the beer as it is being dispensed will eliminate this problem. If your beer is at 15 psi, then try setting the dispense pressure at about 18 psi. Remember, however, that over time the head pressure will equilibrate with the beer (bring it up to the same pressure as the head pressure).
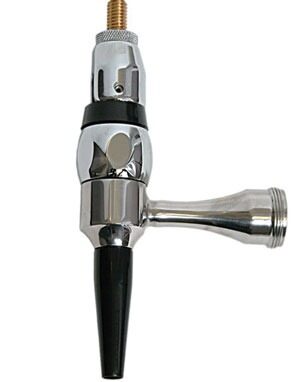
7. Foam and Dispense Hose Diameter
At pressures above 18 psi, the dispense unit runs into the other side of the problem: The beer is ripping through the line and hits the dispense head. The line and the dispense head create friction. This causes a pressure drop and turbulence. The result is that the CO2 once again breaks out of solution. One way to limit the friction in the line is to get a dispense line with a larger inner diameter.
The other option is shortening the line as much as possible. If you do both, your beer will flow much more smoothly. Long-time keg users often have dispense lines that are about two inches long. Another benefit of this short dispense line is that it does not fall into the ice and swill in the keg cooler container. Happy kegging.