Brew System Chiller: A time-saving upgrade

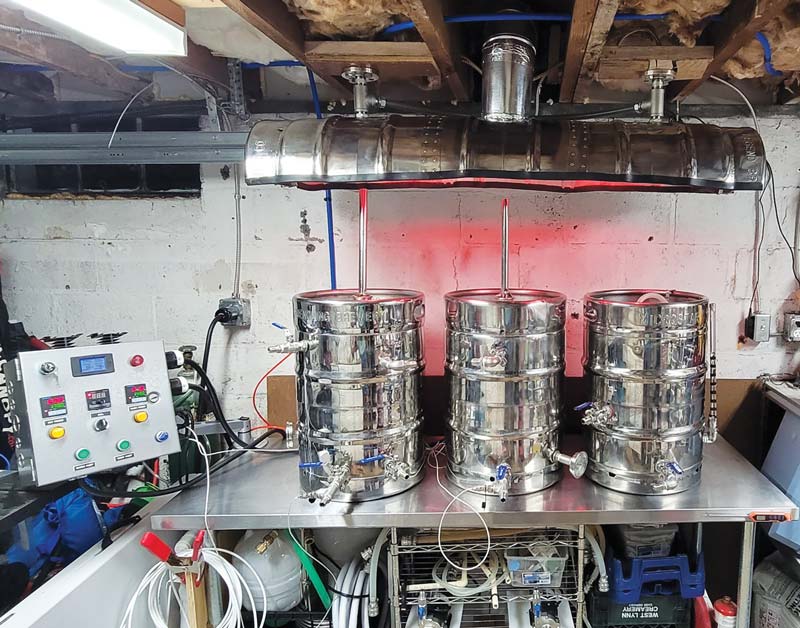
A little while back I purchased a Robobrew (Brewzilla) all-in-one brew system. It comes equipped with a good immersion chiller. If you have a system like this and you’re happy with it, then read no further. But if you’d like to make your chill time a little shorter and use less water, then I highly recommend a plate chiller. I won’t get into the details here of what makes a plate chiller awesome but there are many resources that can explain why, like the story found here: https://byo.com/article/wort-chilling-2/.
For 5-gallon (19-L) batches, a small 20-plate chiller will get the job done. Here in New England, we get very cold water in the wintertime. When I run my faucet at full speed, I can pump my wort directly into my fermenter at 70 °F (21 °C). In the summer it will take a bit longer so I’ll just recirculate back into the kettle until the Blichmann ThruMometer tells me that the wort is coming out at an appropriate temperature for direct pitching of the yeast.
Having the ThruMometer is optional, but it makes the chilling process that much easier since it takes the guesswork out of the process.
Using camlock quick disconnects is a no-brainer in my opinion. This allows you to bypass the recirculation arm and connect your chiller directly to your pump. Besides, the recirculation arm that comes with the Robobrew is designed for 3⁄8-in. ID tubing. That sizing means much slower flow rates. I recommend stepping up to the next diameter sized tubing . . . you’ll get much a much better flow rate with ½-in. ID tubing.

I chose to use male fittings on the wort-side of the chiller itself for a couple of reasons. Having both of them be male fittings means that you can connect your pump to either side of the chiller. This allows you to recirculate your cleaning fluid in both directions when you’re finished with it. Just be careful, because this also means you can run your wort in the wrong direction and not get very efficient cooling.
Having the ThruMometer is optional, but it makes the chilling process that much easier since it takes the guesswork out of the process. You can immediately see what temperature your wort is coming out at, which saves you time and energy. Once the wort reaches the appropriate temperature you can just put the out-tube directly into your fermenter. It only takes a couple of minutes for the pump to empty the entire Robobrew.
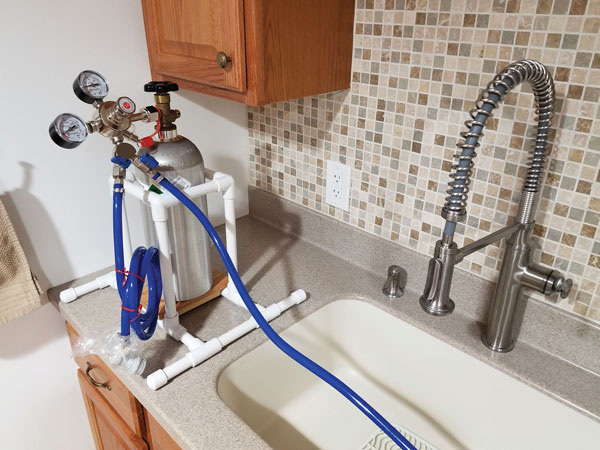
You will want to make sure to get the ½-in. ID and ¾-in. OD silicone tubing. Any thinner-walled tubing is not meant for hot liquid. It’s so thin that your tubes will immediately kink and stop the flow of wort. Also, you’ll want to make sure you use a proper braided hosing for your water-side. Using anything less strong could potentially burst. Trust me on this one . . . I now use a basic garden hose. (Did I learn this from experience? . . . no . . . why would you ask that?) Having quick disconnects on the water-side of the plate chiller is optional but awesome.
Tools and Materials
- Plate chiller — ½-in. NPT wort side and ¾-in. NPT water side
- (2) Male camlock — ½-in. NPT fittings
- Male camlock — ½-in. barb
- (2) Female camlock — ½-in. barb
- ½-in. ID, ¾-in. OD silicone tubing
- Garden hose
- (2) ¾-in. garden hose repair kits
- Teflon tape
- (2+) garden hose quick-disconnects (optional)
- Blichmann ThruMometer — ½-in. barbs (optional)
Steps

1. Assemble Plate Chiller
Wrap all four NPT fittings with plenty of Teflon tape. I recommend no less than eight wraps to ensure that you don’t get any leaks. Then, thread the male camlock fittings onto the wort-side of the chiller and the garden hose quick-disconnects on the water-side of the chiller. Use a wrench to make sure these are nice and snug.

2. Wort-Side Tubing
Measure out how long you will need your tubing to be from the brew system to the chiller. Cut this tube to length. Repeat this process for the output tubing from the chiller and back into the system. If you choose to use the ThruMometer, you’ll need to cut your output tube into two pieces. You also want this tube to be long enough to recirculate into your system as well as reach your fermenter.
On the input tube, slide on the male camlock with ½-in. barb on one end and the female camlock on the other end. On the output tube slide on the male camlock on one end, slide the ThruMometer on the opposite side. Then with the other piece of output tubing, slide the other end of the ThruMometer into it. The opposite end of the tubing will likely be open for recirculation and dispensing into your fermenter. Finally you’ll need to use clamps or zip ties to hold the tubing onto the barbs.
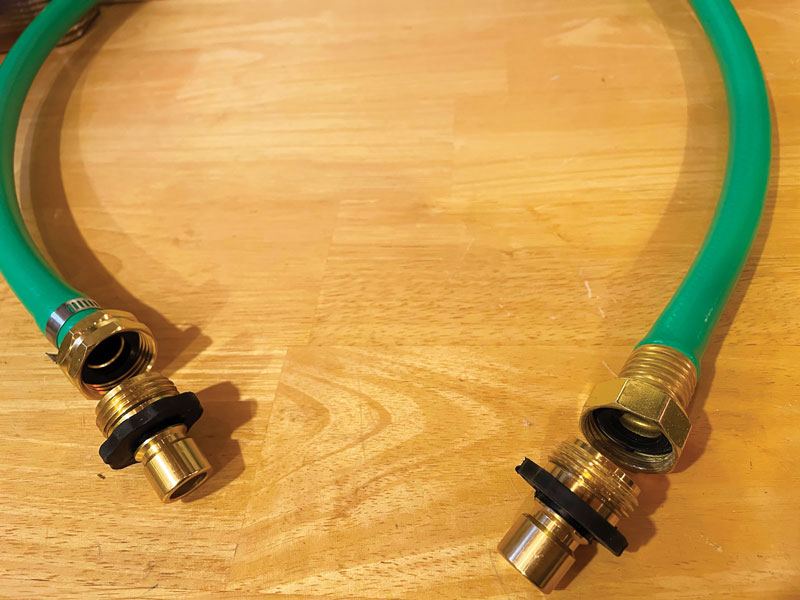
3. Water-Side Garden Hoses
Start by measuring how long you need your garden hose to be in order to reach your faucet and to reach your drain. Cut the garden hose in half (or whichever length you determined for your particular setup) and grab your repair kits.
Use the hose with the female fitting still attached as your input hose. On the cut end, drop a hose clamp around the hose, and then insert the female fitting from the repair kit. I found that using a little keg lube helped to get this fitting installed. If you don’t have any keg lube, you could probably just use some petroleum jelly. This means that you should now have a female fitting on both ends of your input hose.
Your output hose should be the hose with the male fitting still attached. On the cut end, drop a hose clamp around the hose, and then insert the female fitting from the repair kit. As with the input hose, using a little keg lube helps this go on easier.

4. Testing and Preparing
Before brew day, make sure to fill your brew system with some water and turn on your pump. Check for leaks. Do the same with your garden hose. If there are no leaks, then add some cleaner to your system and run the pump for a while to make sure the tubing and the plate chiller are nice and clean.
After this you may want to run some fresh water through the plate chiller to make sure there’s no residual soapy water in there.
5. Brew Day!
Once you’re ready to use your system, connect all of your tubing and hoses while you’re still boiling. You’ll want the output tube to be flowing back into your kettle at first. Make sure you have your cold-side hoses connected to flow the opposite direction of your hot-side tubing. If you run these both in the same direction, you’ll get very little cooling power. Start by running boiling wort through the system for at least 10 minutes in order to sanitize everything.
(Side Note: I highly recommend using a good hop filter or hop spider. You don’t want to clog your pump or your plate chiller on your big double New England IPA.)
Once you’re ready to start chilling, simply turn off your elements and keep your pump running. Now, open your garden hose faucet all the way (you checked for leaks, right?) and watch the temperature drop. Once you get a reading on your ThruMometer that you like (yeast pitch temperature) just close the valve on the recirculation arm, pull the output tube out of the Robobrew, and insert it into your fermenter. Now open the valve and wait for the system to finish pumping all of your cool wort into your fermenter.
Once you’re finished, I recommend keeping a small bucket or pitcher nearby to catch any drips as you disconnect each tube/hose.

6. Cleaning
Start by disconnecting the hot-side tubing from the recirculation pump and use a garden hose nozzle to run fresh water through the system. I do this on both sides of the hot-side tubing, back and forth, to get as much junk out as possible.
Once it’s running nice and clear with no more hop particles or grains coming out of the plate chiller, then I connect the hot-side tubing to the recirculation pump again. Then I put all of my various brewing pieces into the Robobrew (malt pipe, extra tubing, mash paddle, false bottom, hop spider, etc.) and fill it almost to the top with cold water. I turn on the heating elements and set the temperature to about 140 °F (60 °C) and then add an appropriate amount of cleaner (PBW or similar).
Now I turn on the pump and let the cleaner recirculate through the plate chiller for 15 minutes or so. Then I swap the two female camlocks on the plate chiller so that I can reverse the direction of flow through the plate chiller, and run the pump for another 5 minutes or so. This ensures that the plate chiller gets thoroughly cleaned and there are no hidden surprises when I go to brew next time.
Finally, I drain the Robobrew and rinse everything off and then put another gallon (3.8 L) or so of acidic sanitizer solution in the Robobrew and turn on the pump to rinse the chiller out really well.
If you have any questions, please visit my website at www.echrisdenney.com